I recommend viewing this page on a laptop or desktop screen.
Please note, the before and after images have a slider in the middle. Dragging this slider left and right will allow you to compare before and after shots.
Please keep in mind, there is no singular “before” image, as every final image is being composed out of few shots made with different goals – one to catch lighting, one to light dark areas and so on. I’ve tried to pick a good average representation for the before pictures. Not too bad, not too good.
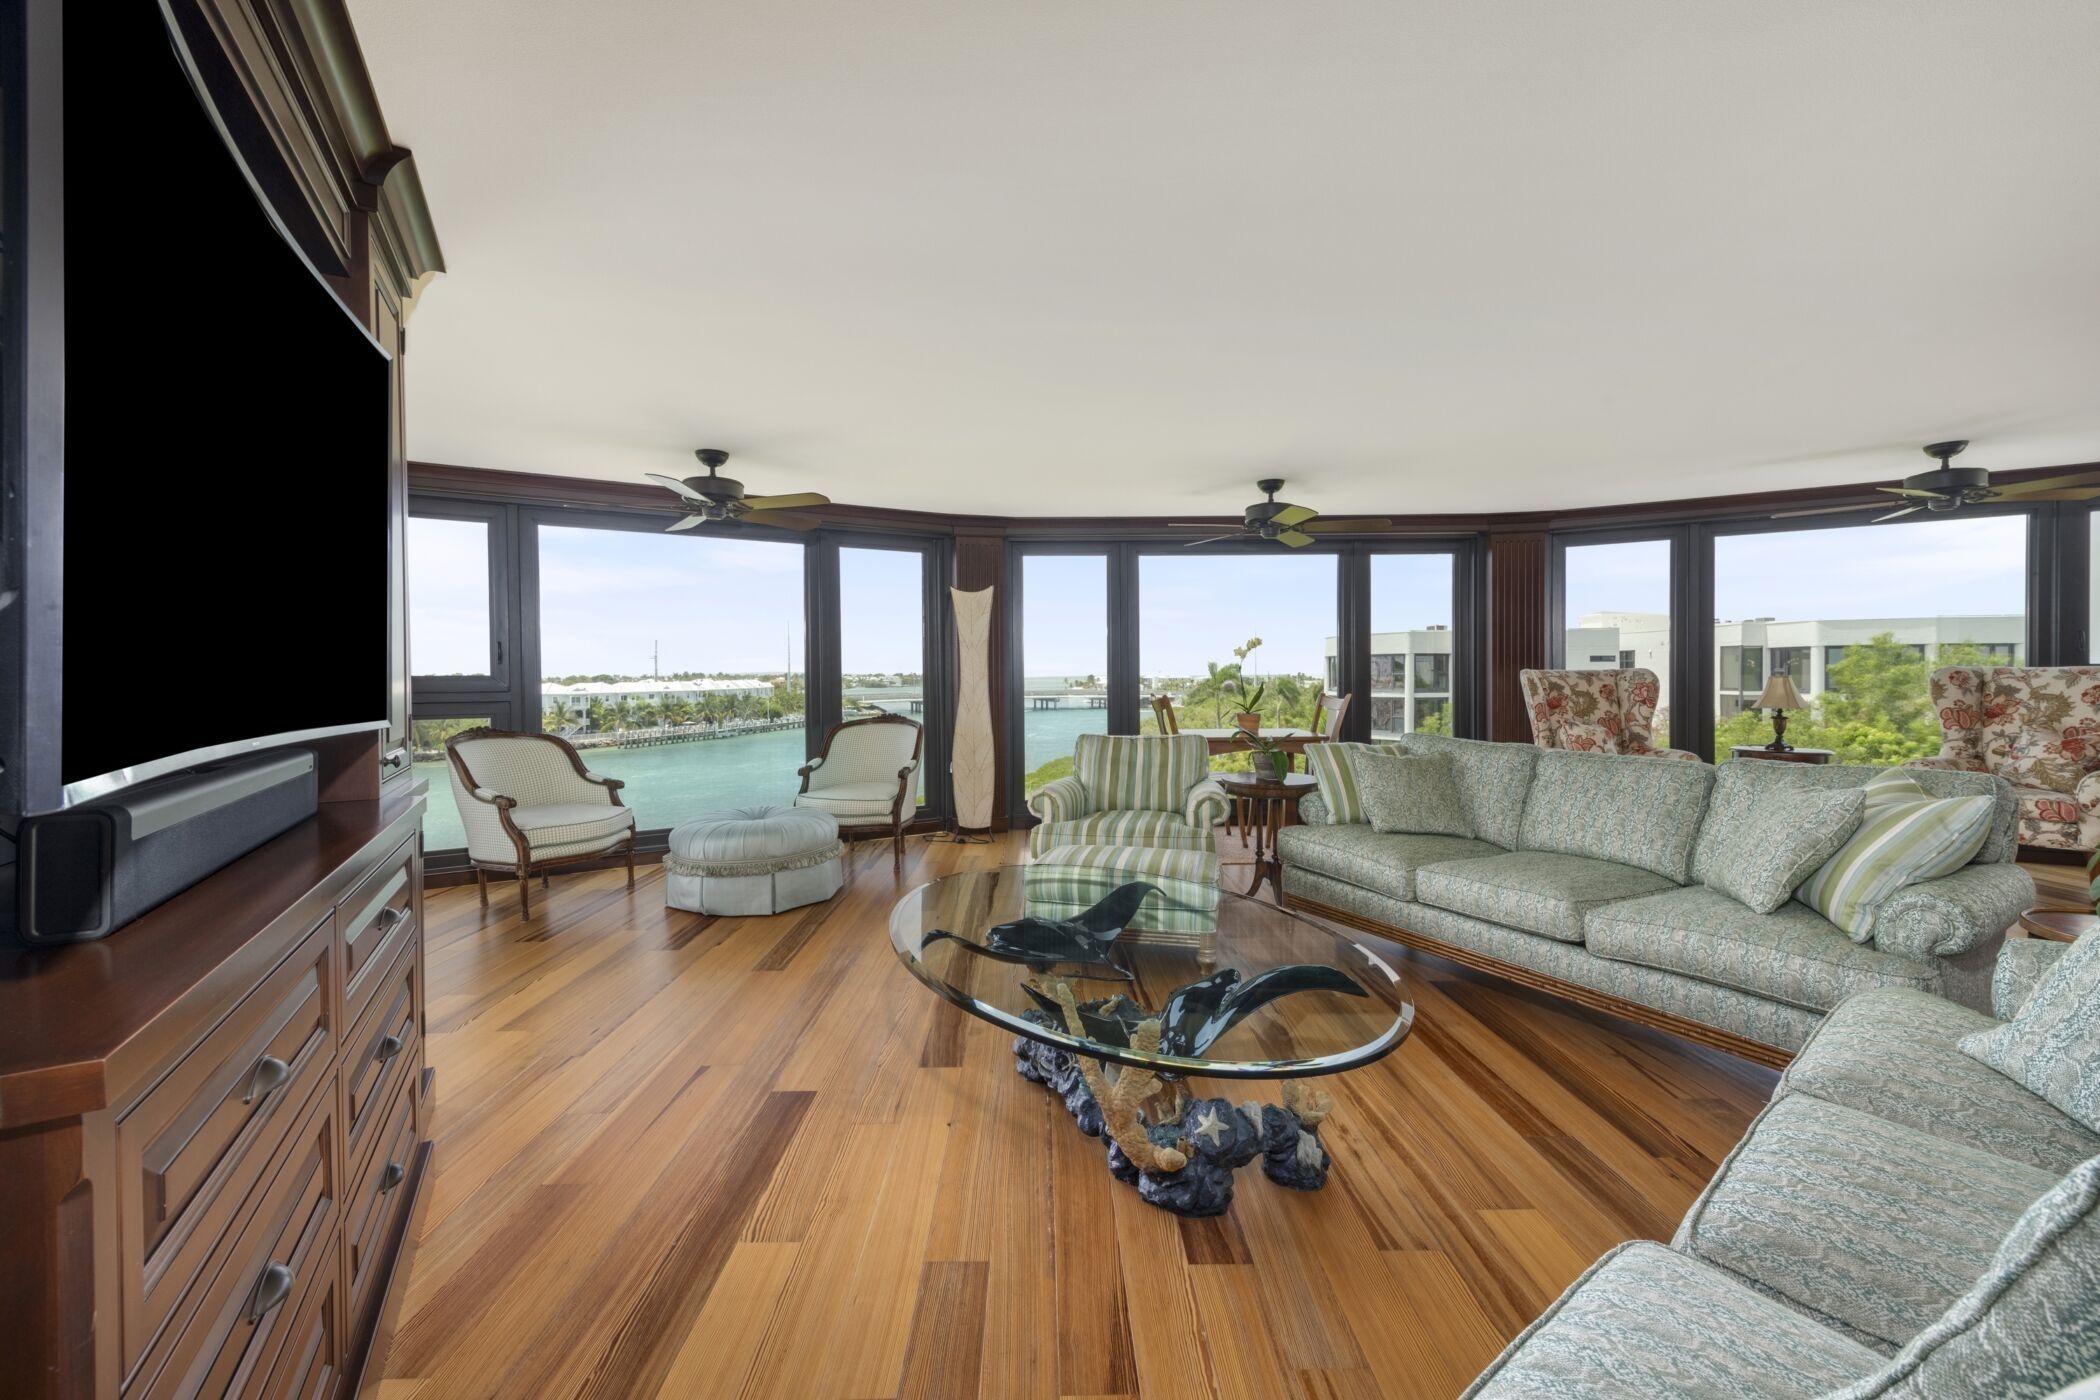
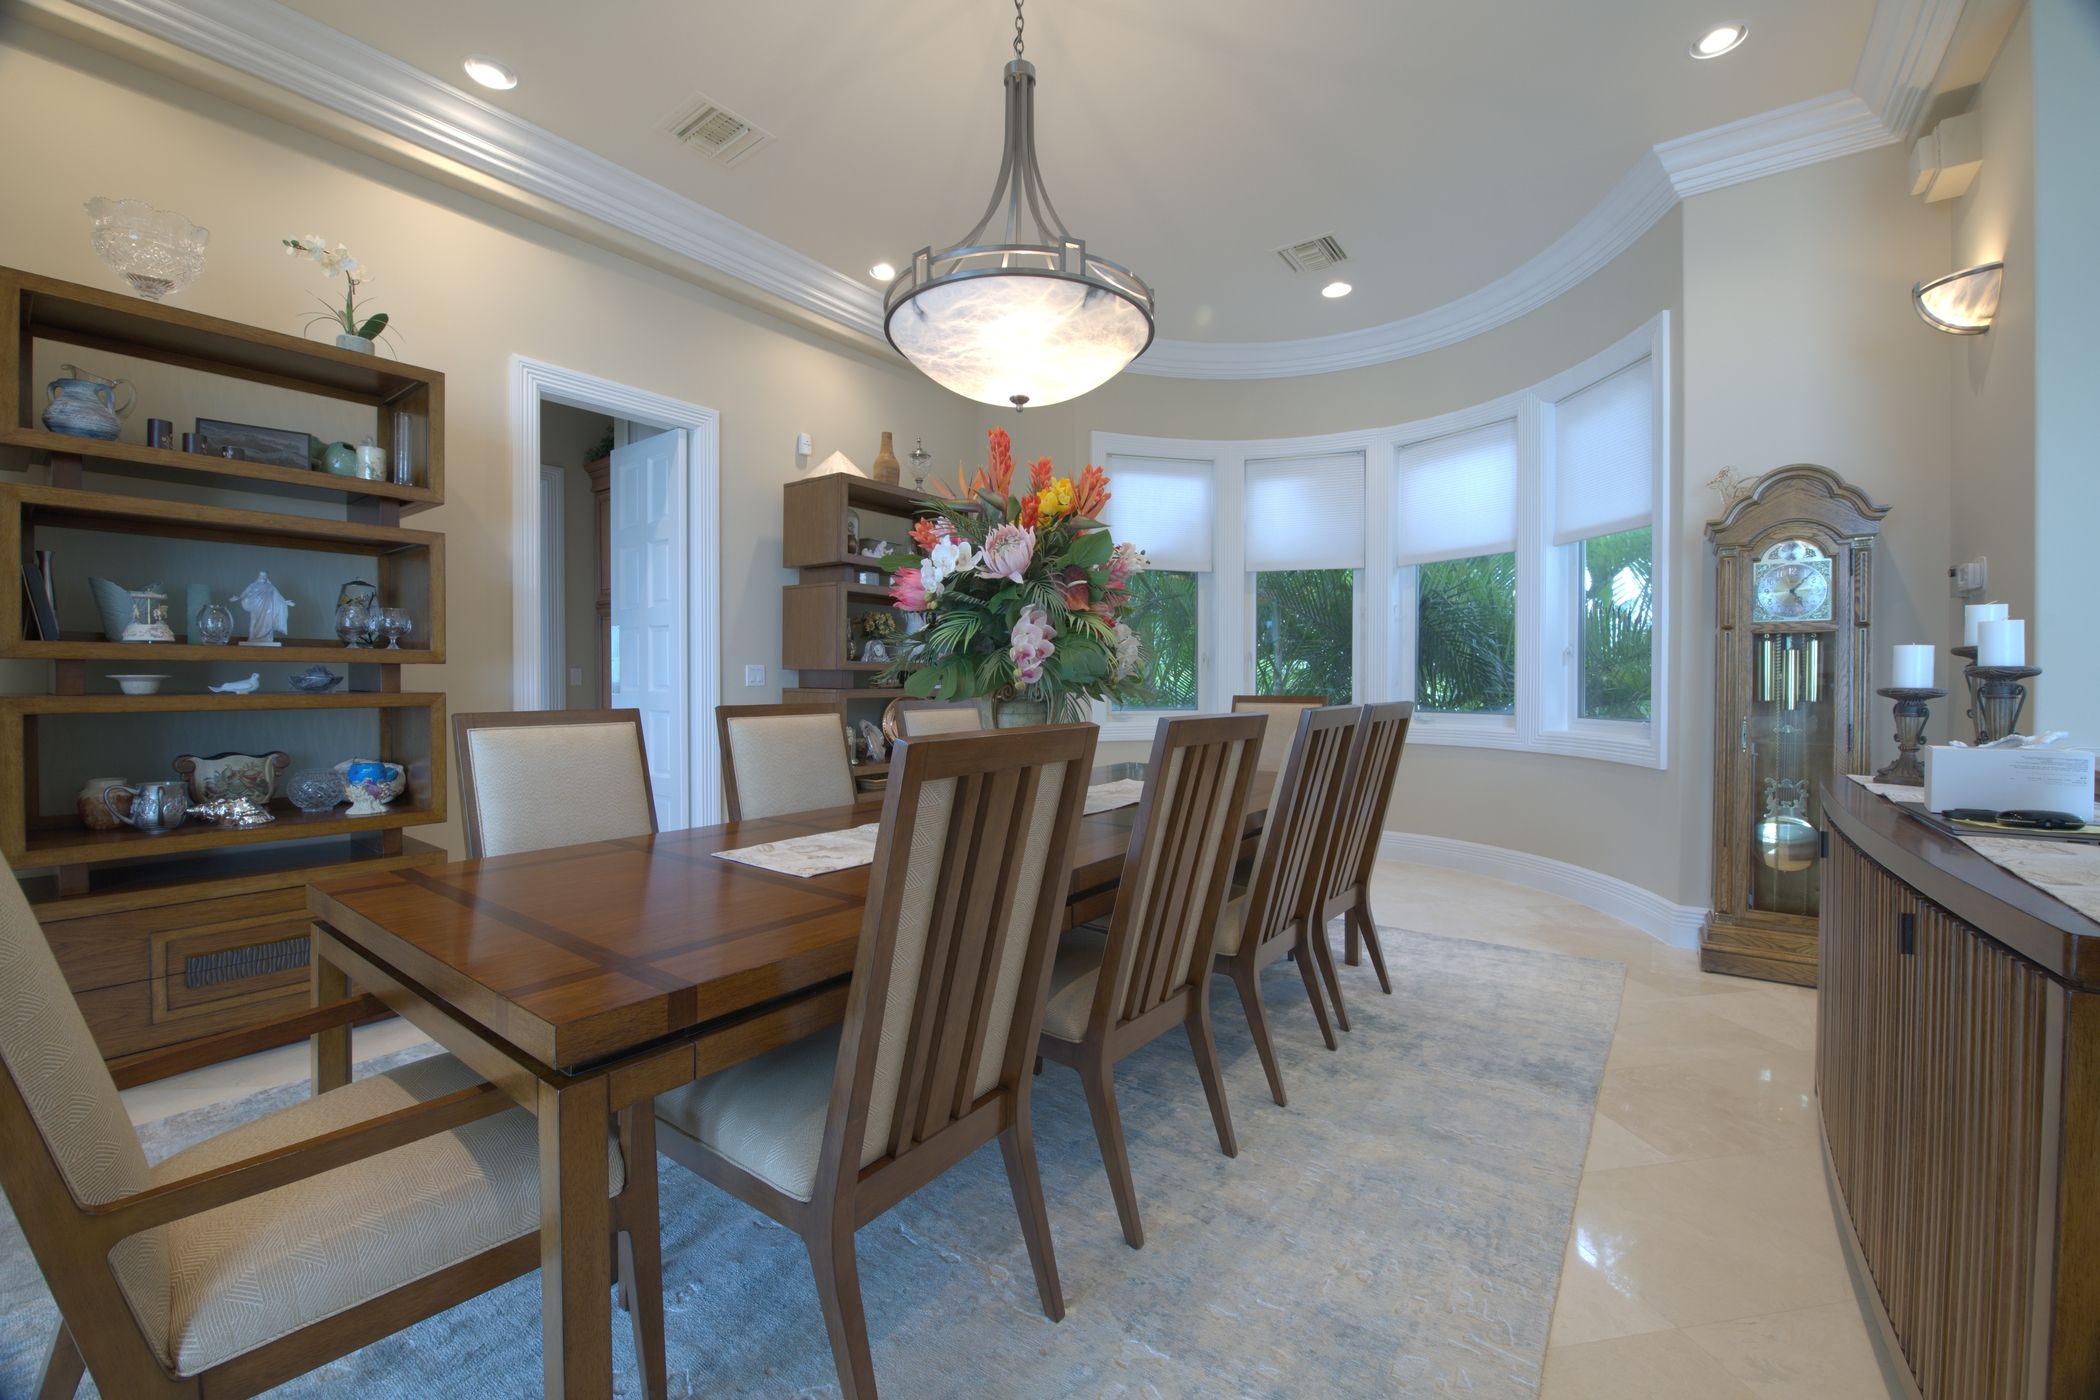
Interiors
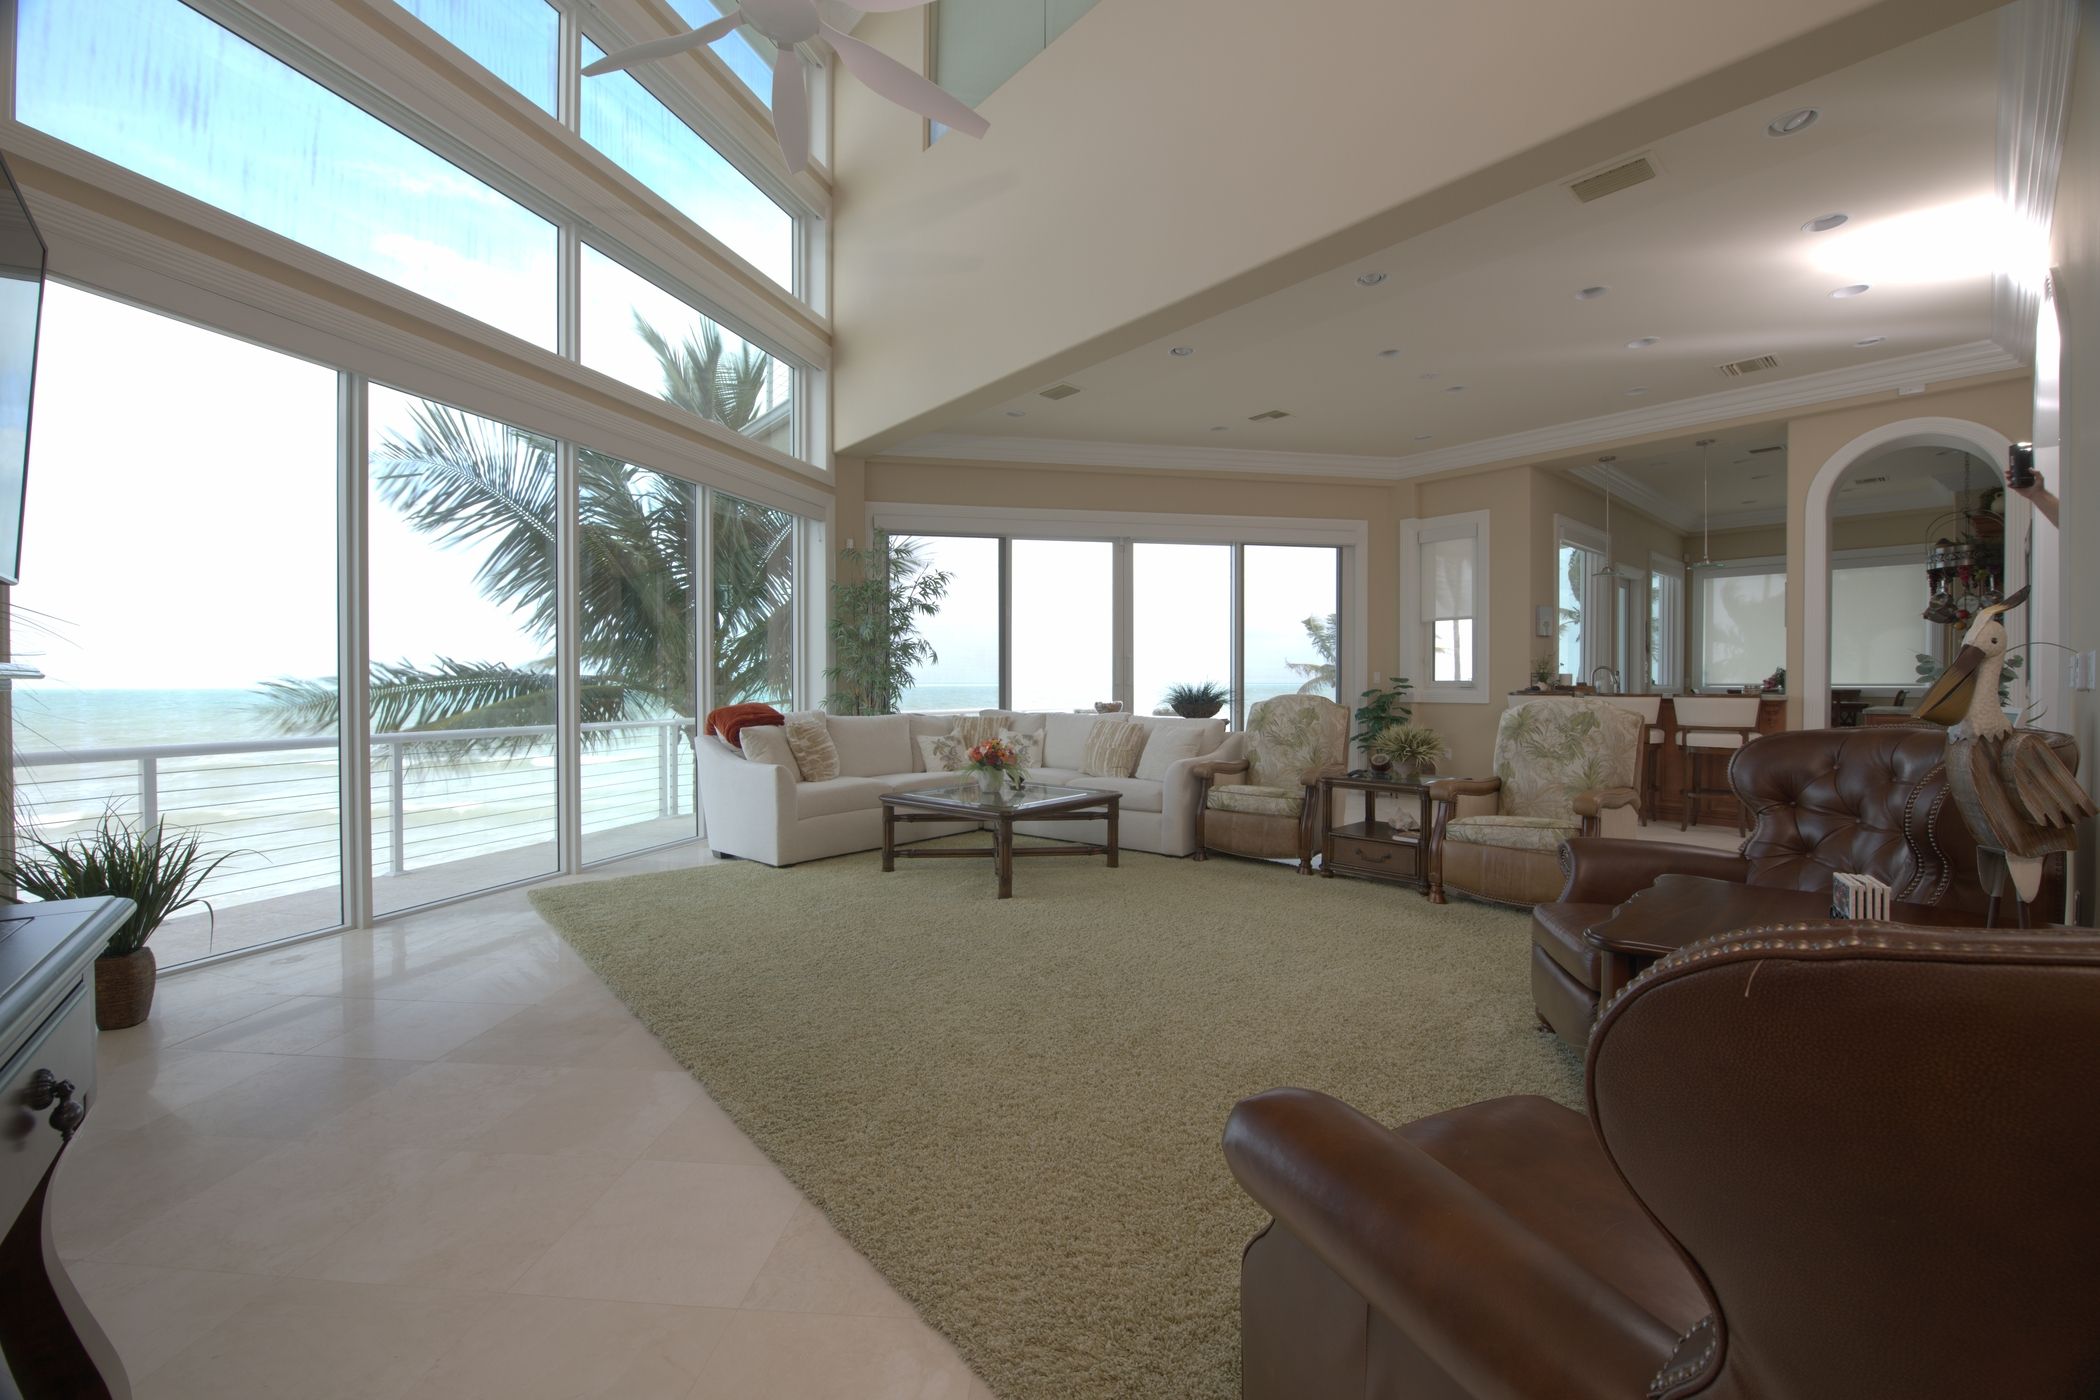
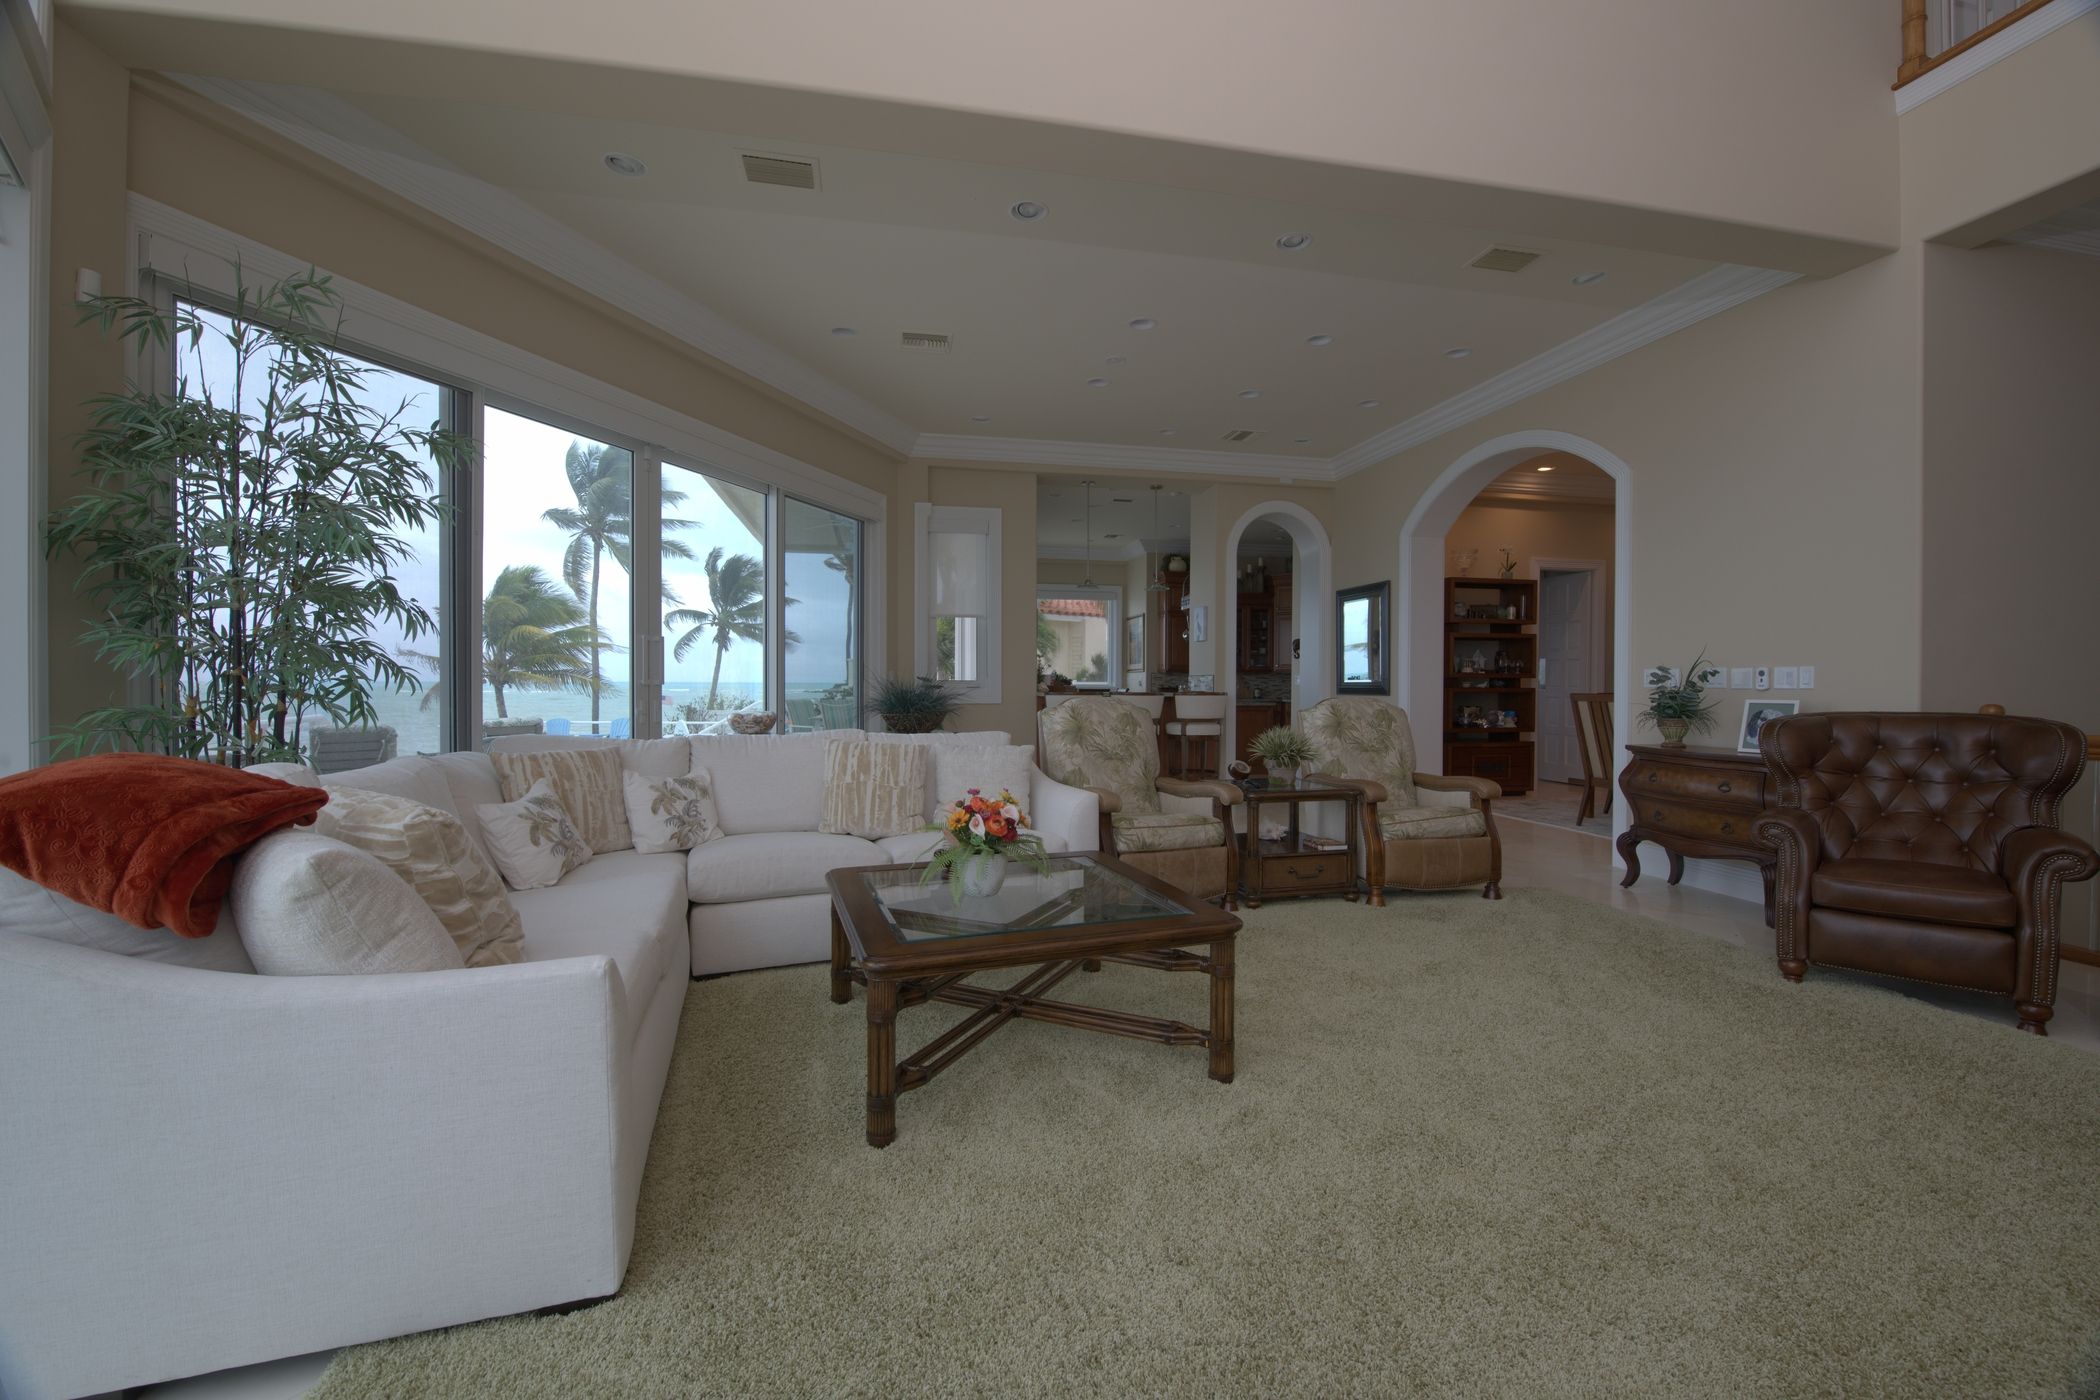
I’ve picked a few different spaces with a bonus image from Skipjack.


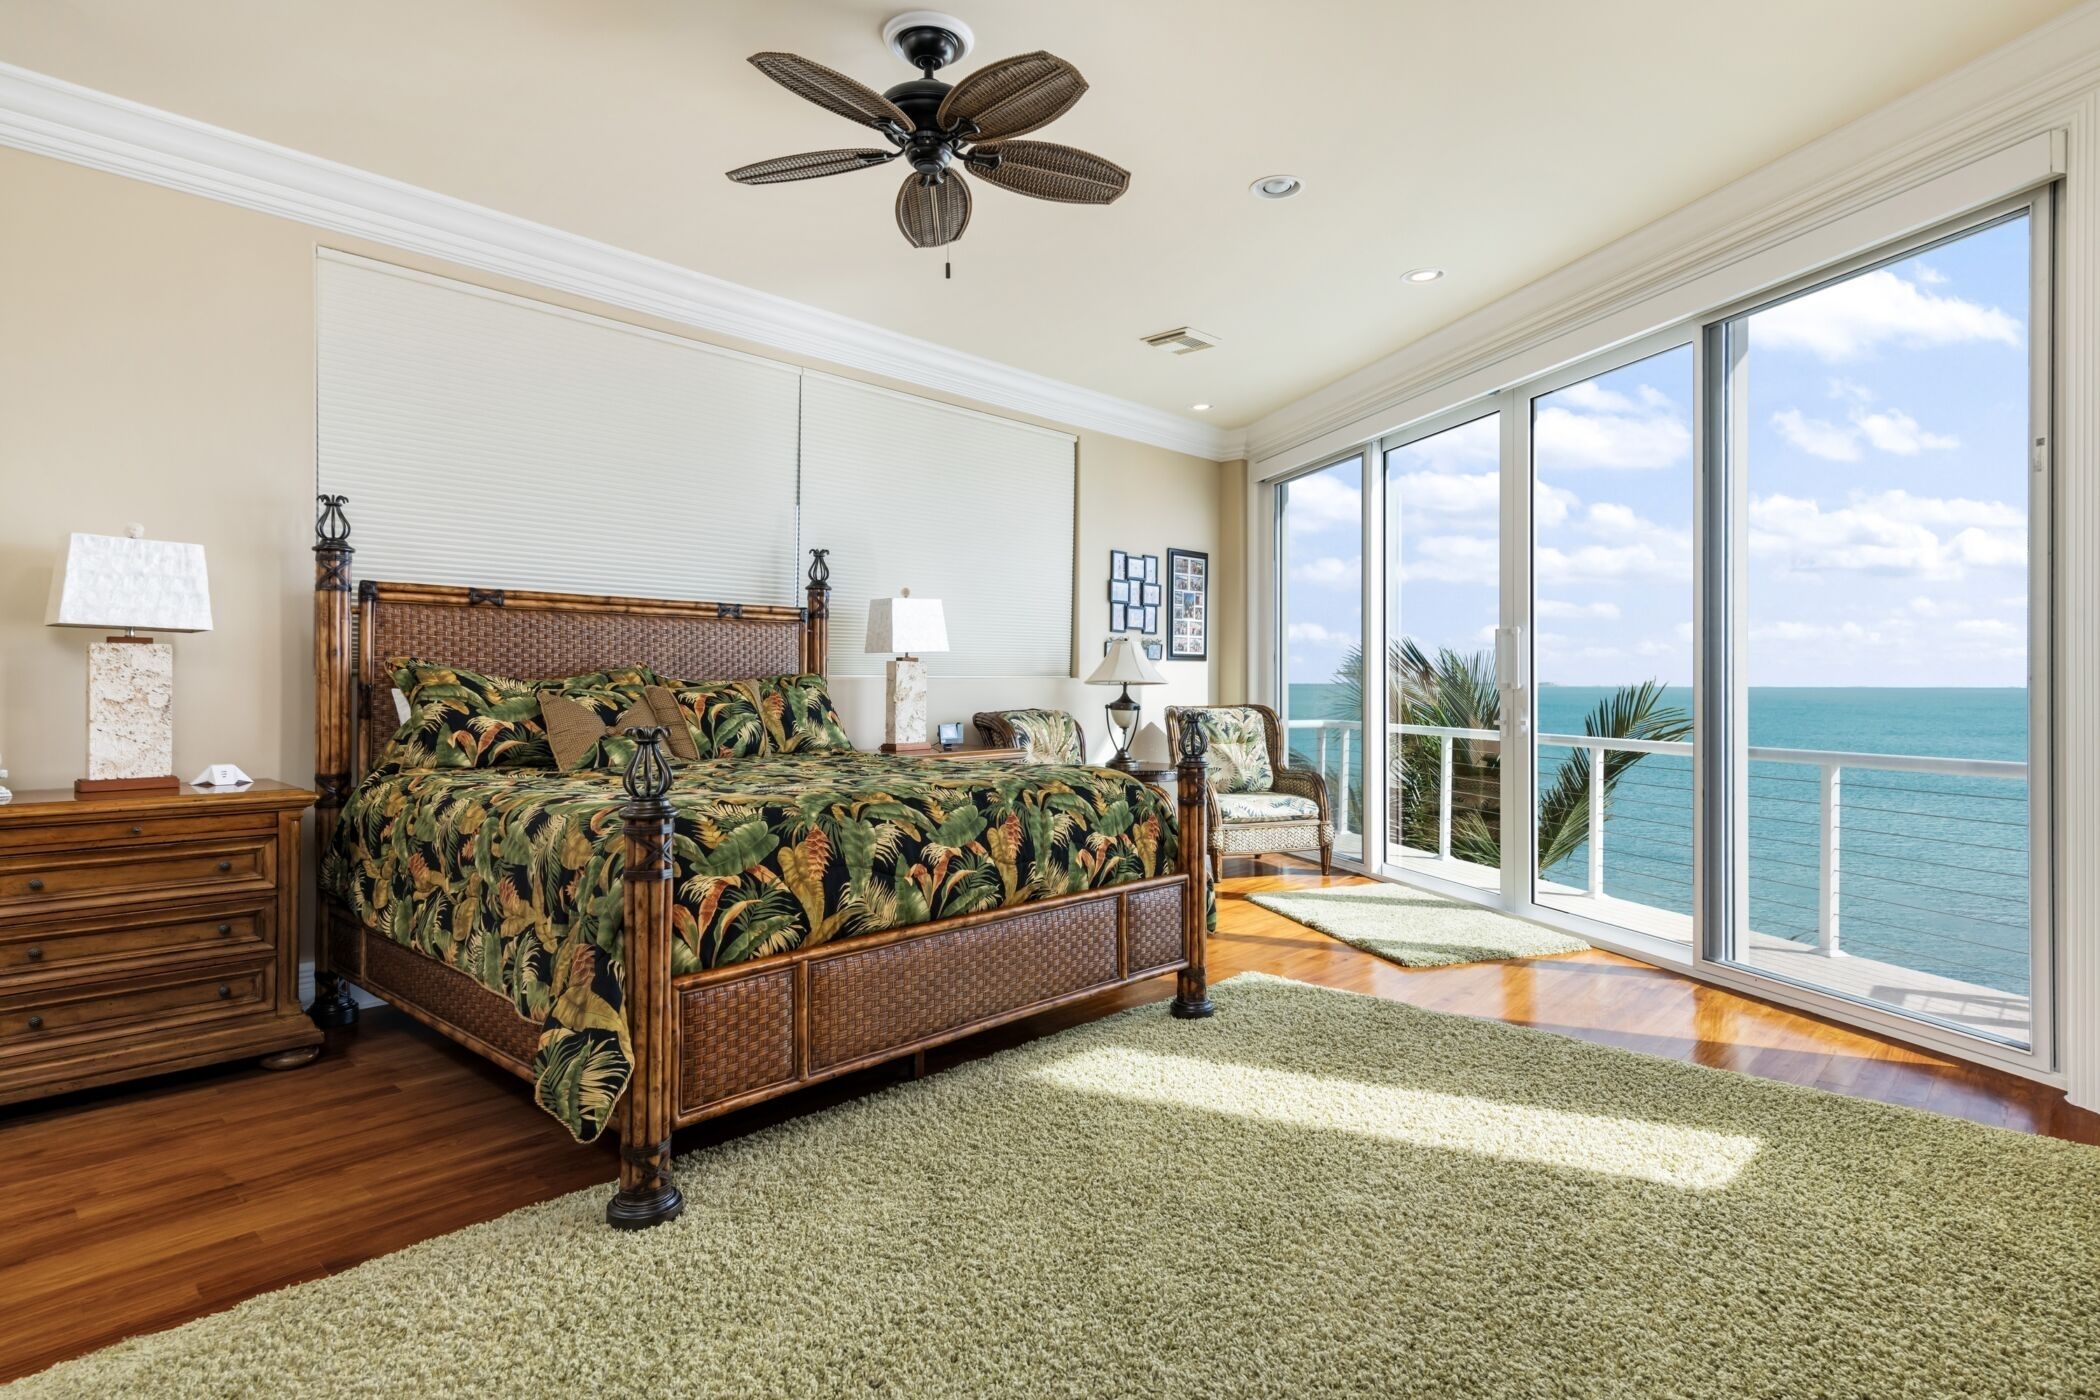


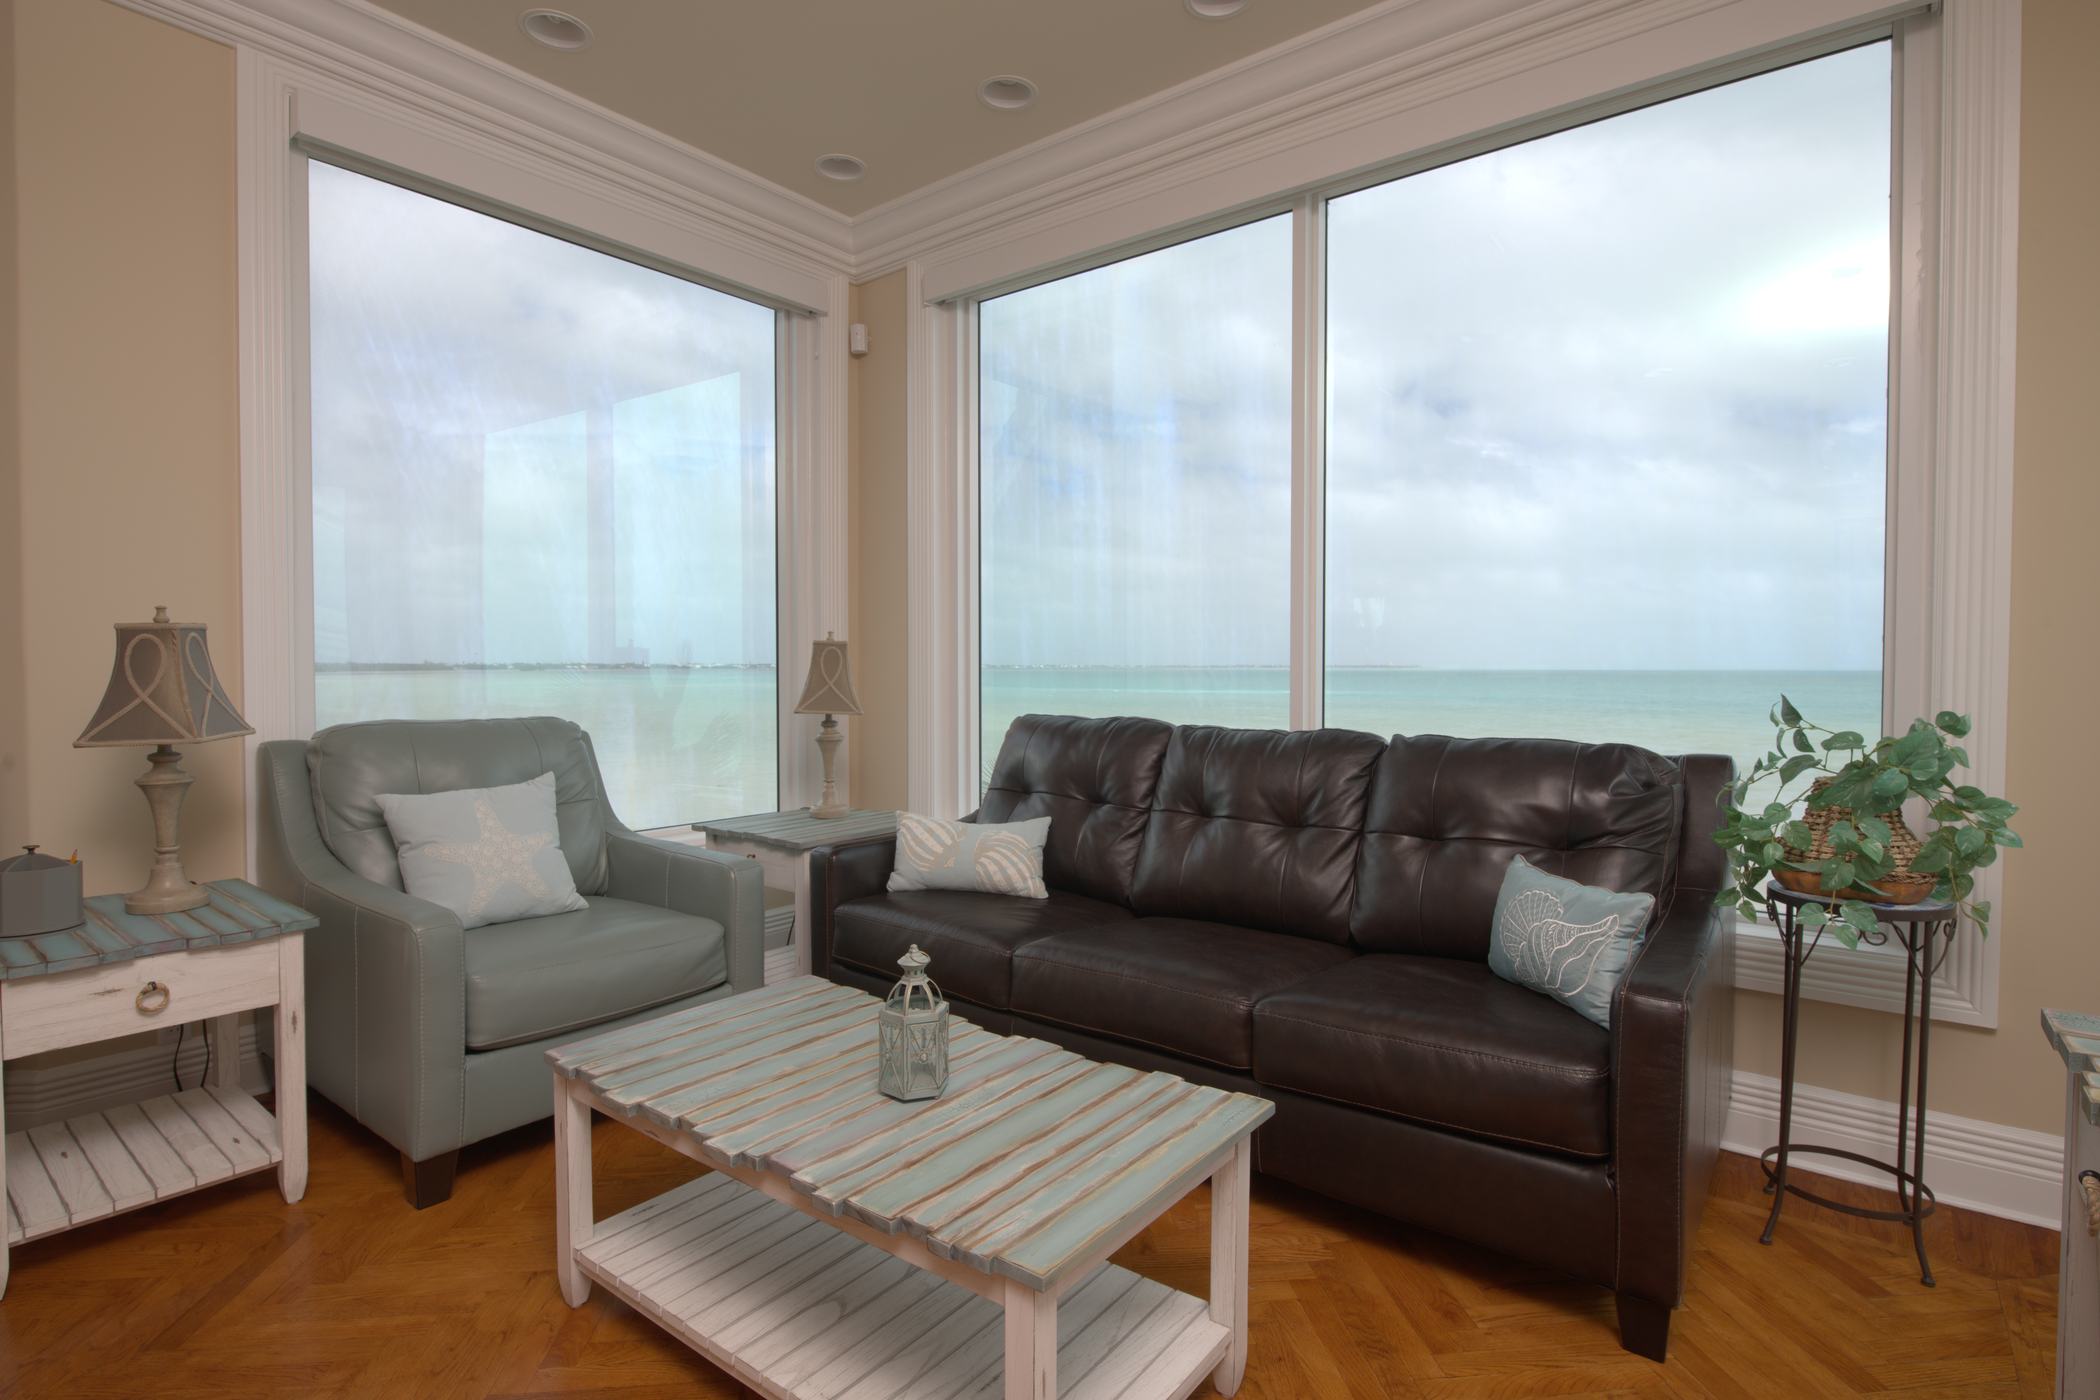


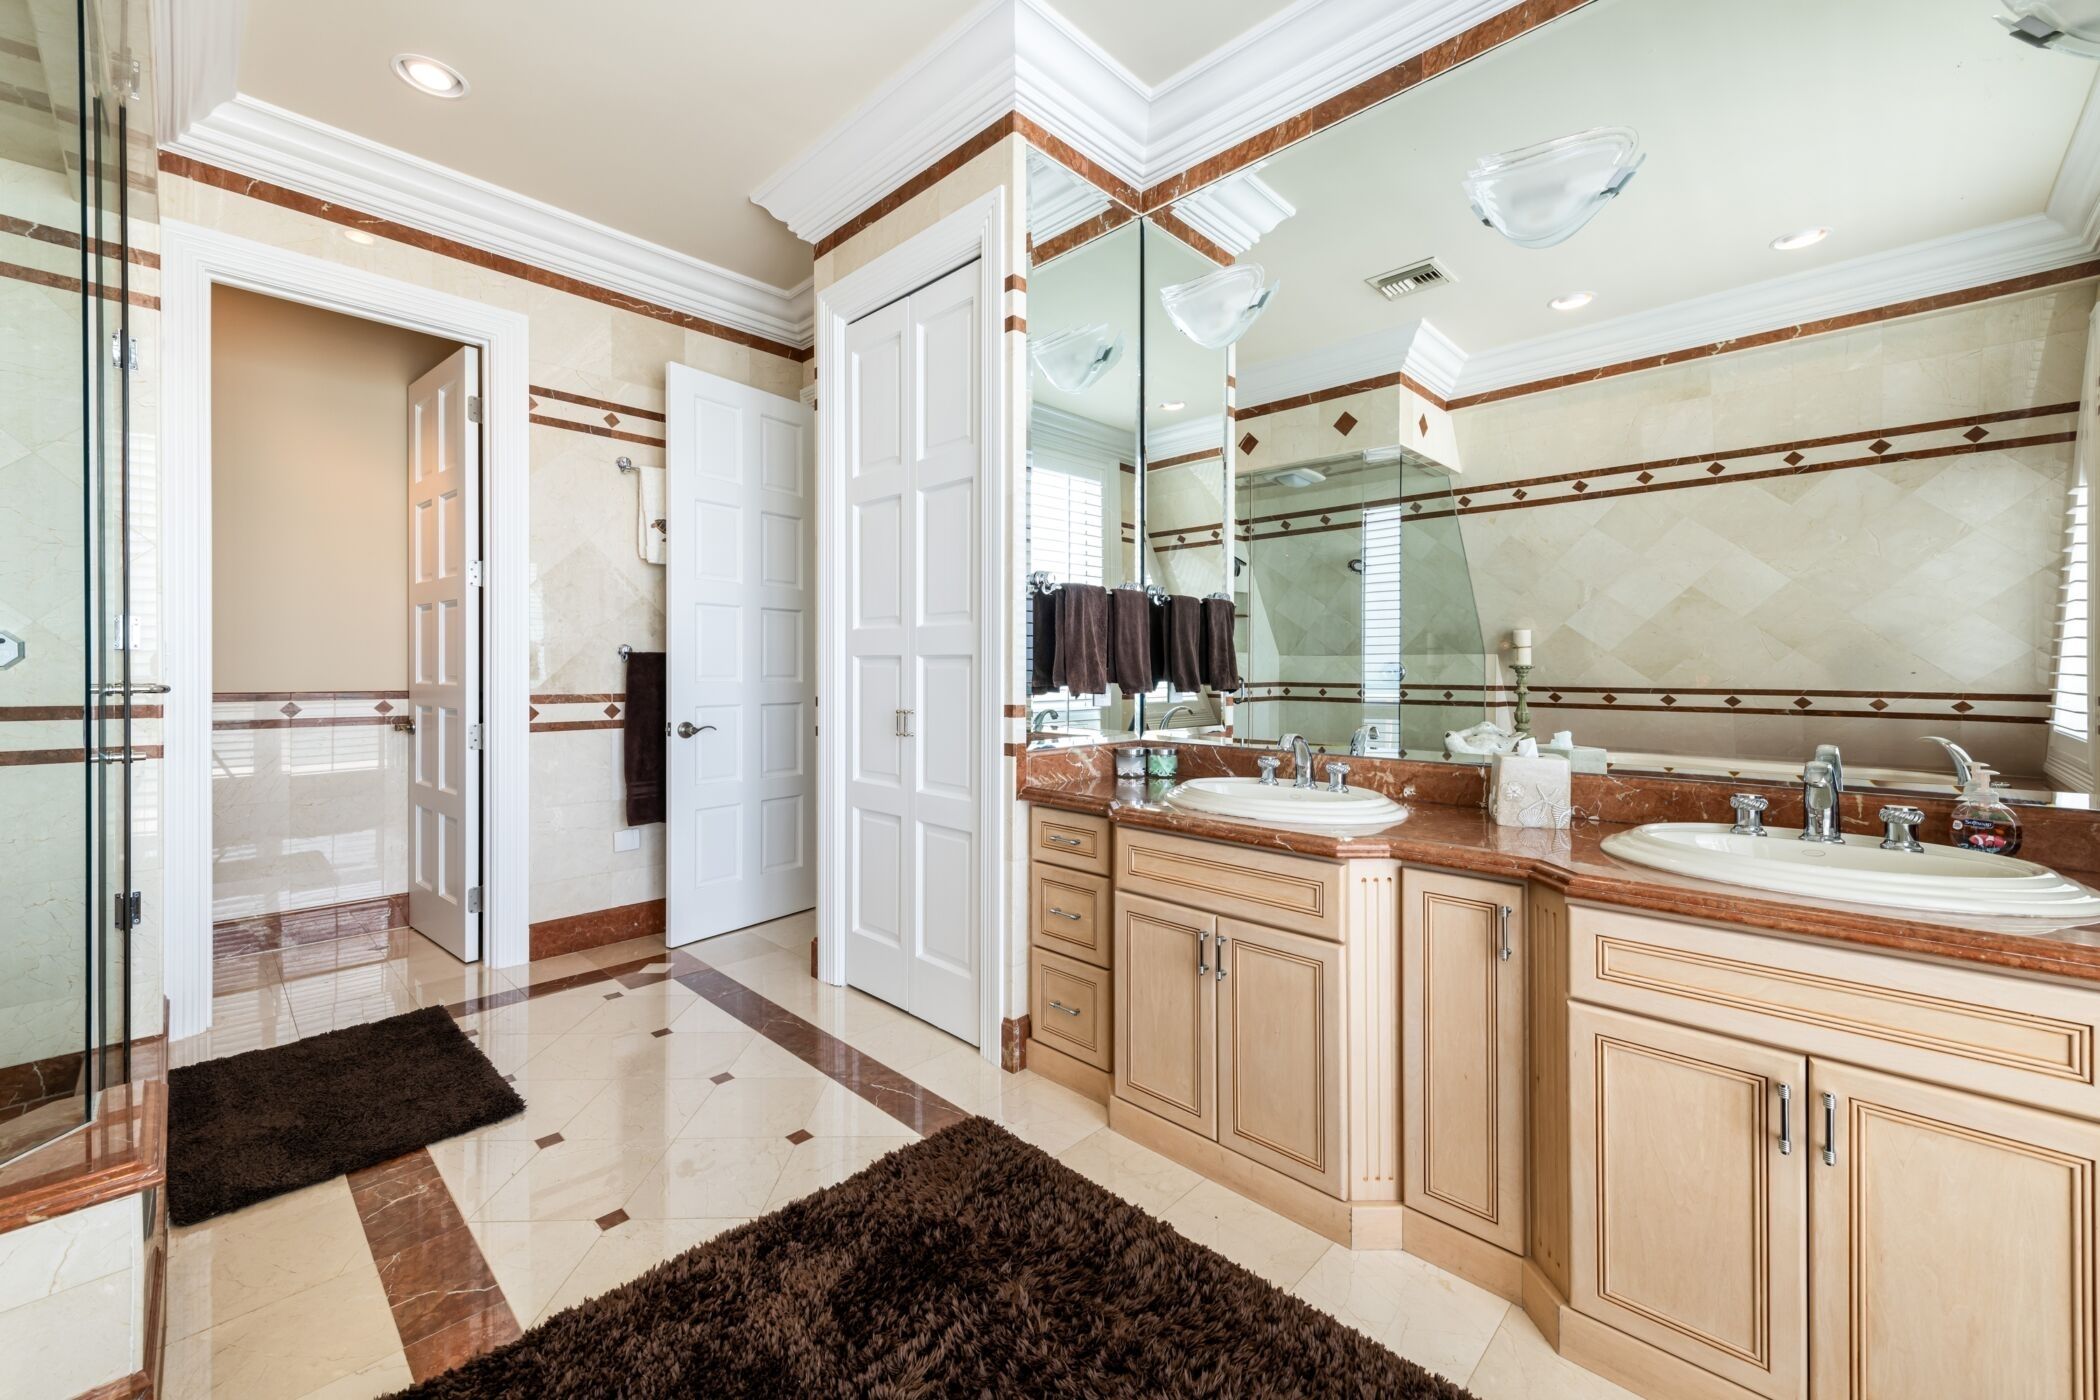
The following image should be familiar to you, I grabbed it from this page Deluxe 1 Bedroom King Suite with Balcony. Things to notice – improved window view, furniture repair, mini split sticker removal. Subtle adjustments to verticals and horizontals to make it geometrically correct. Shadows control. The image source didn’t have a great resolution, but for demo purposes I think it works pretty good.


And how would it look on the website:


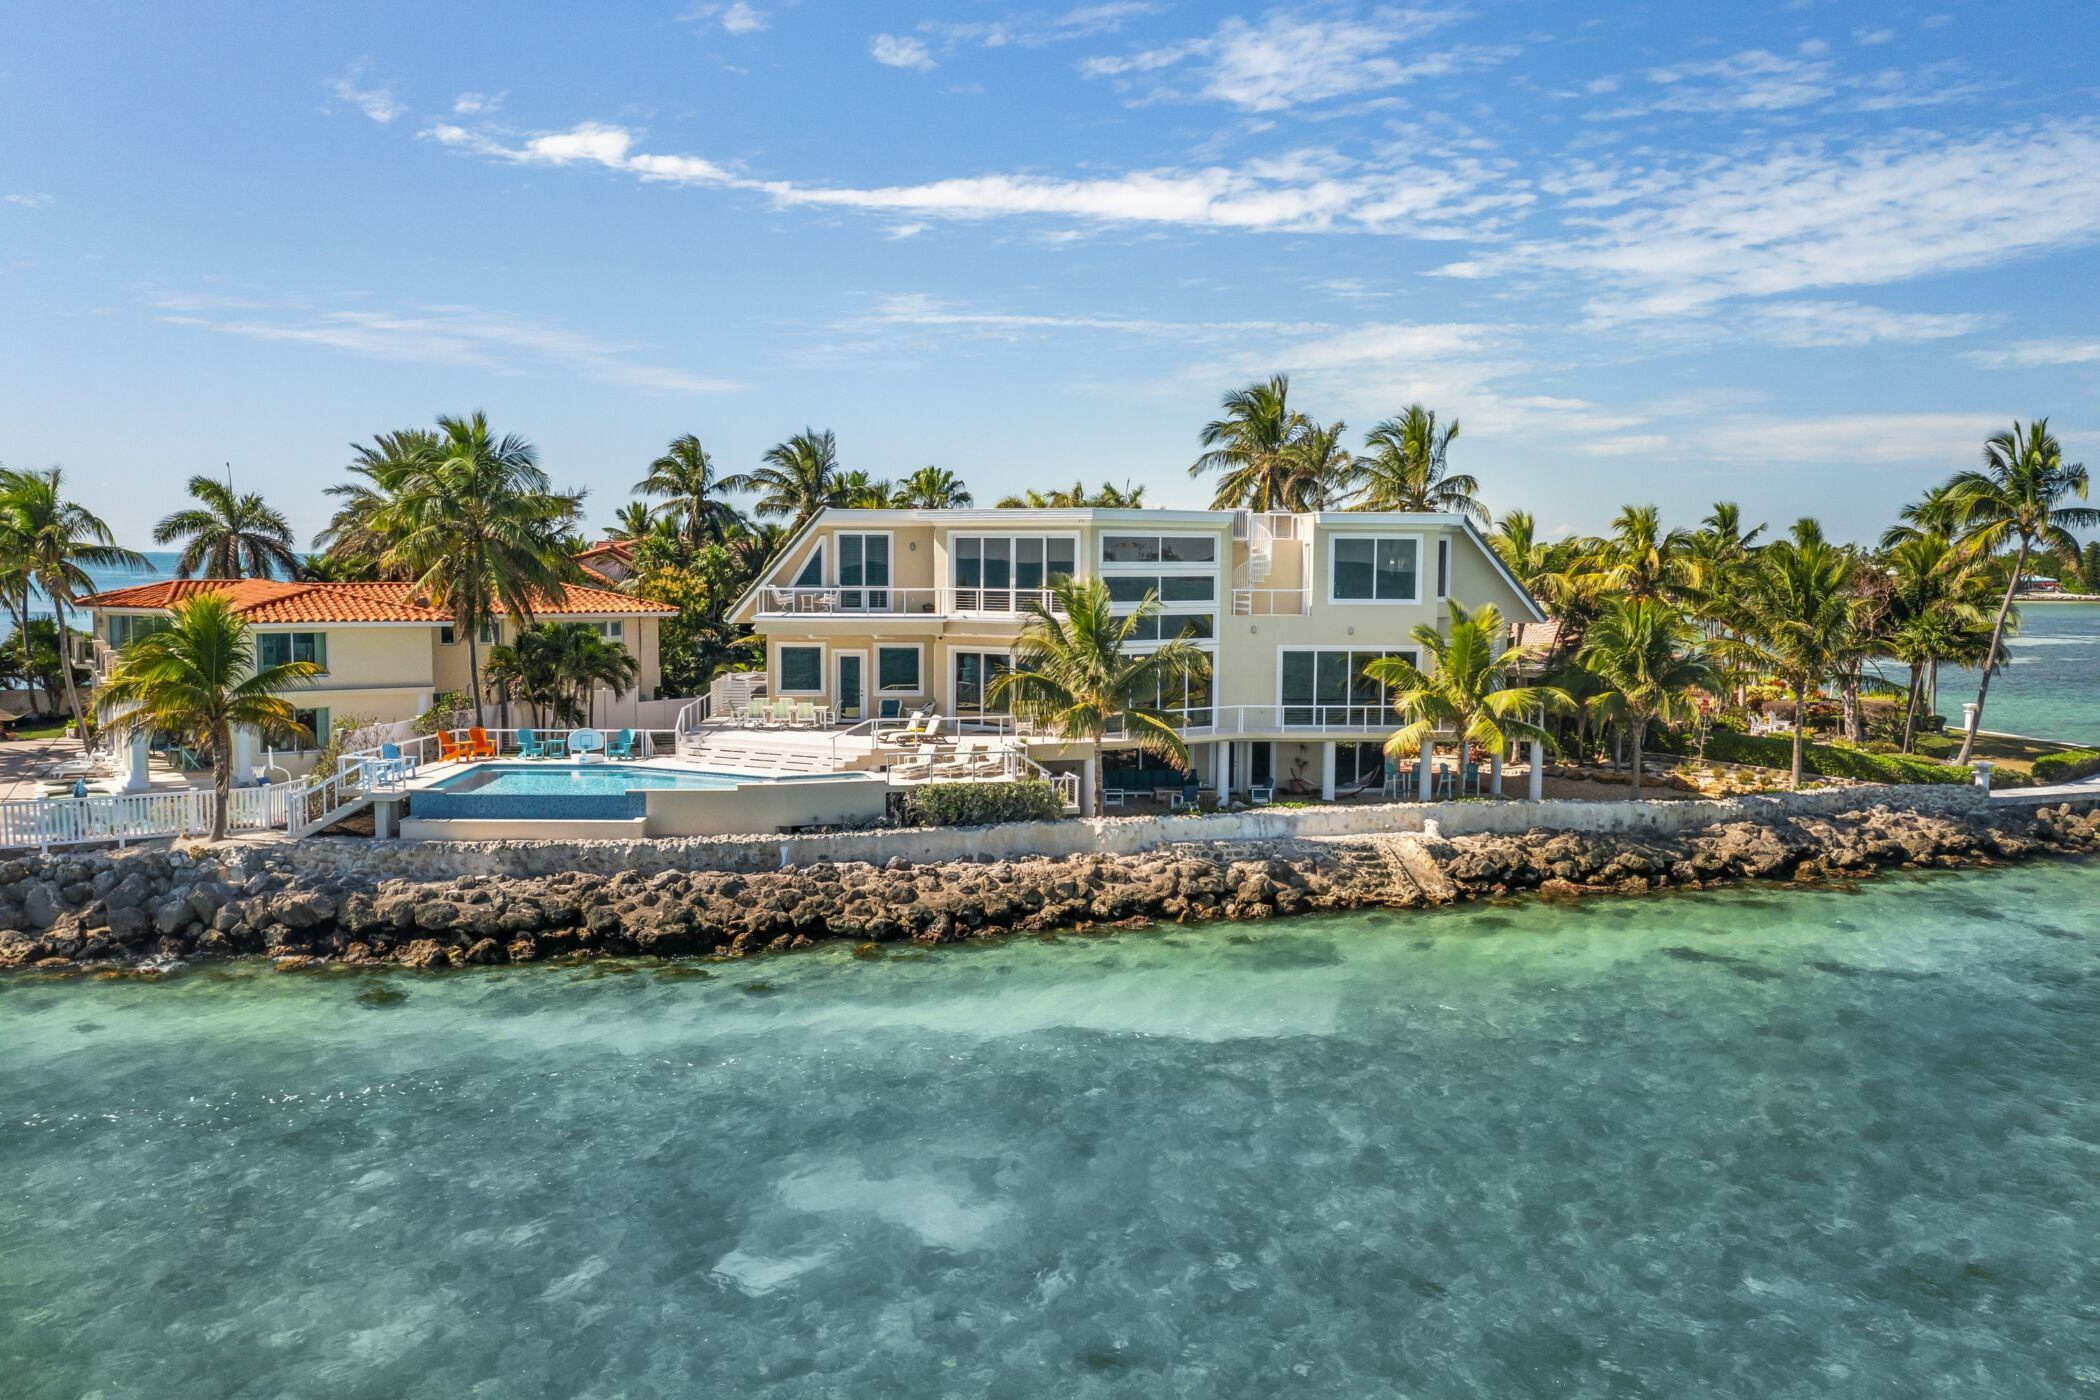
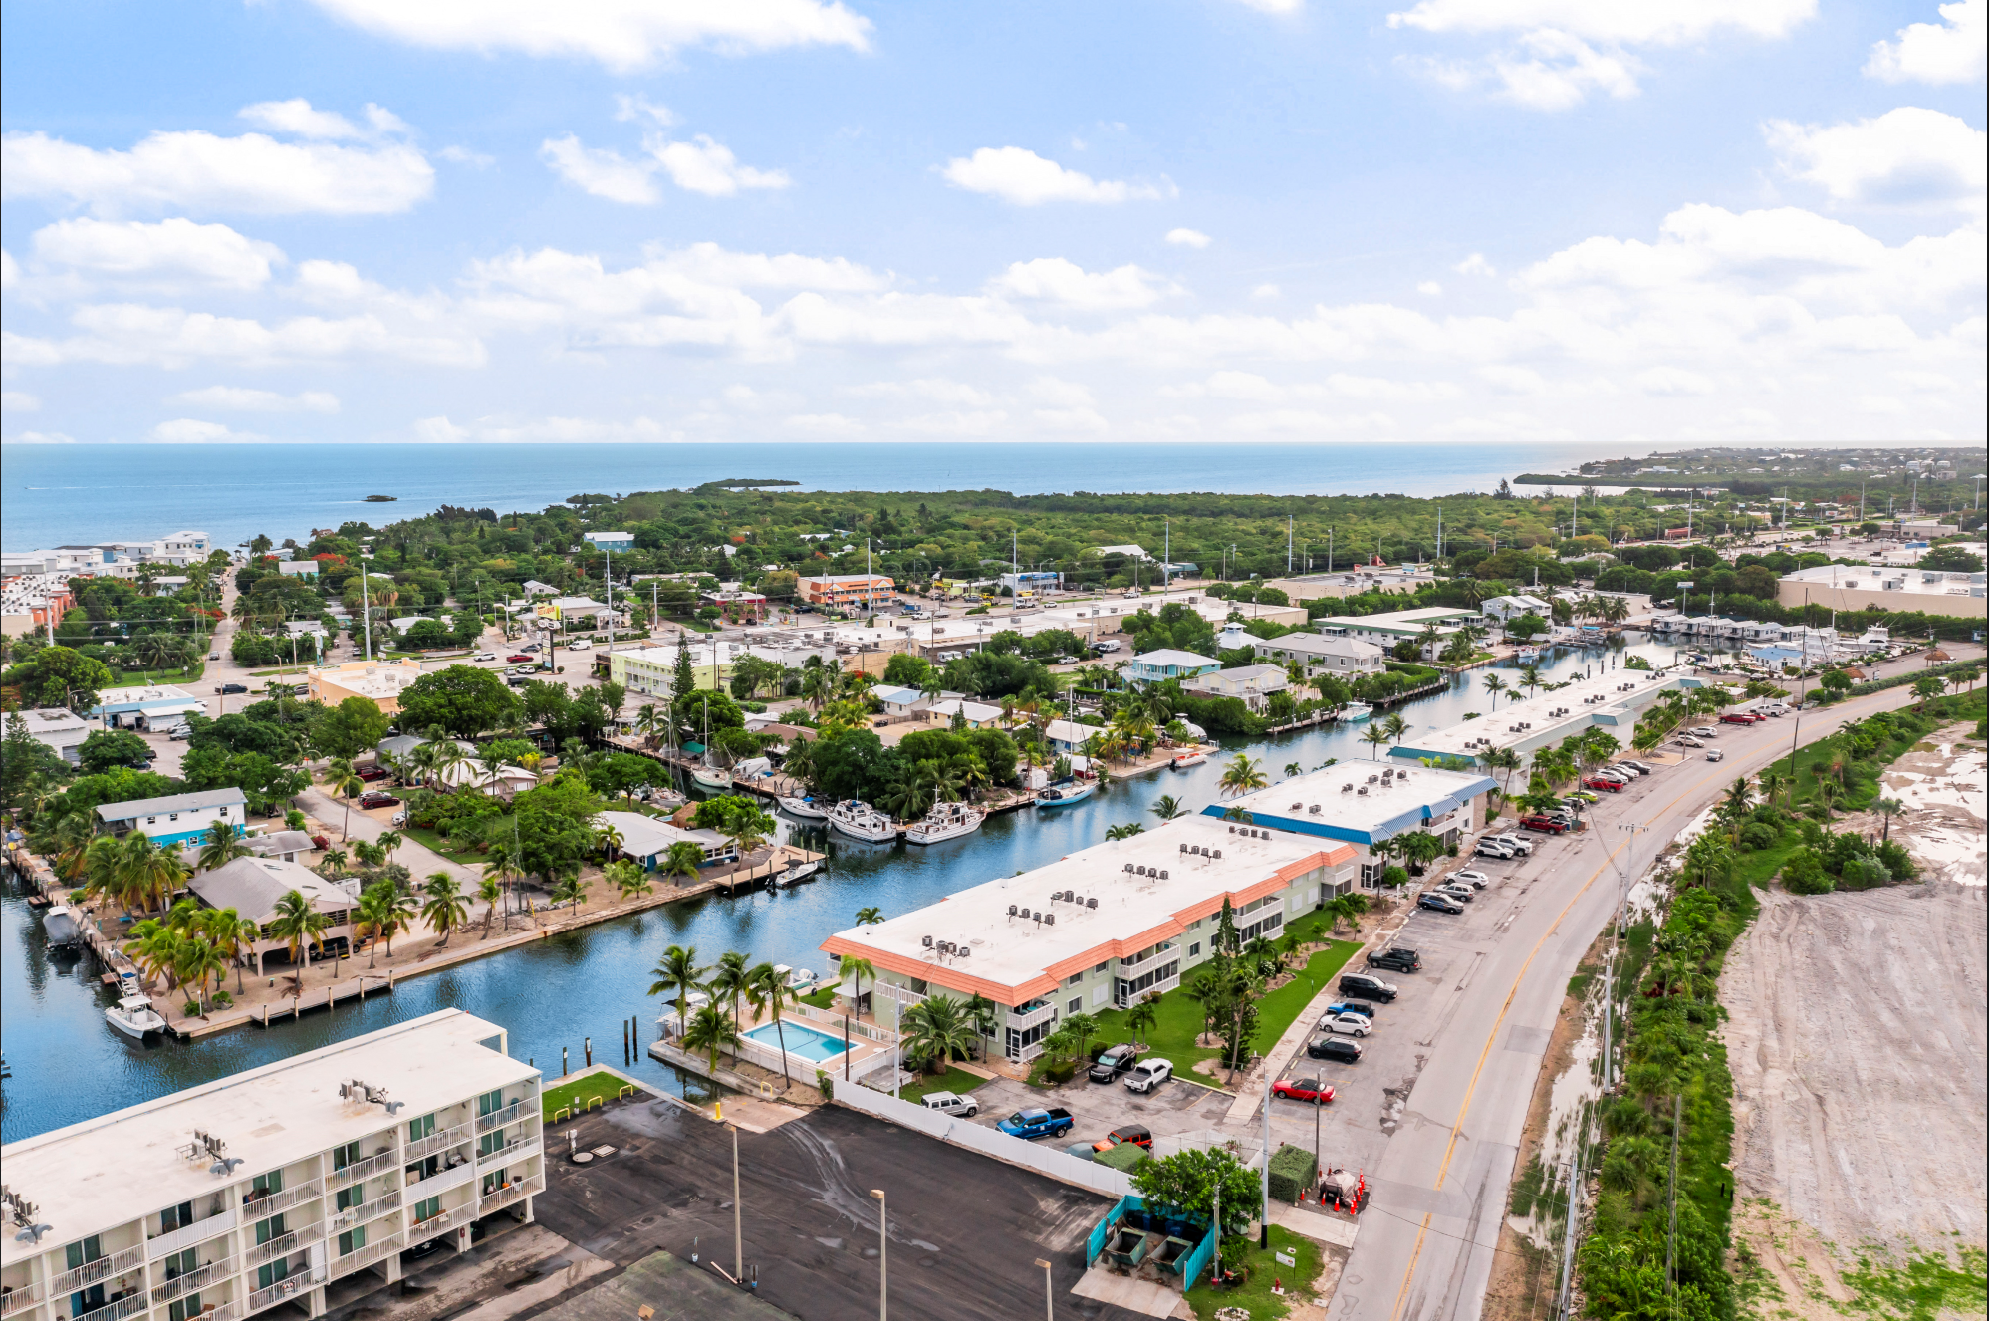
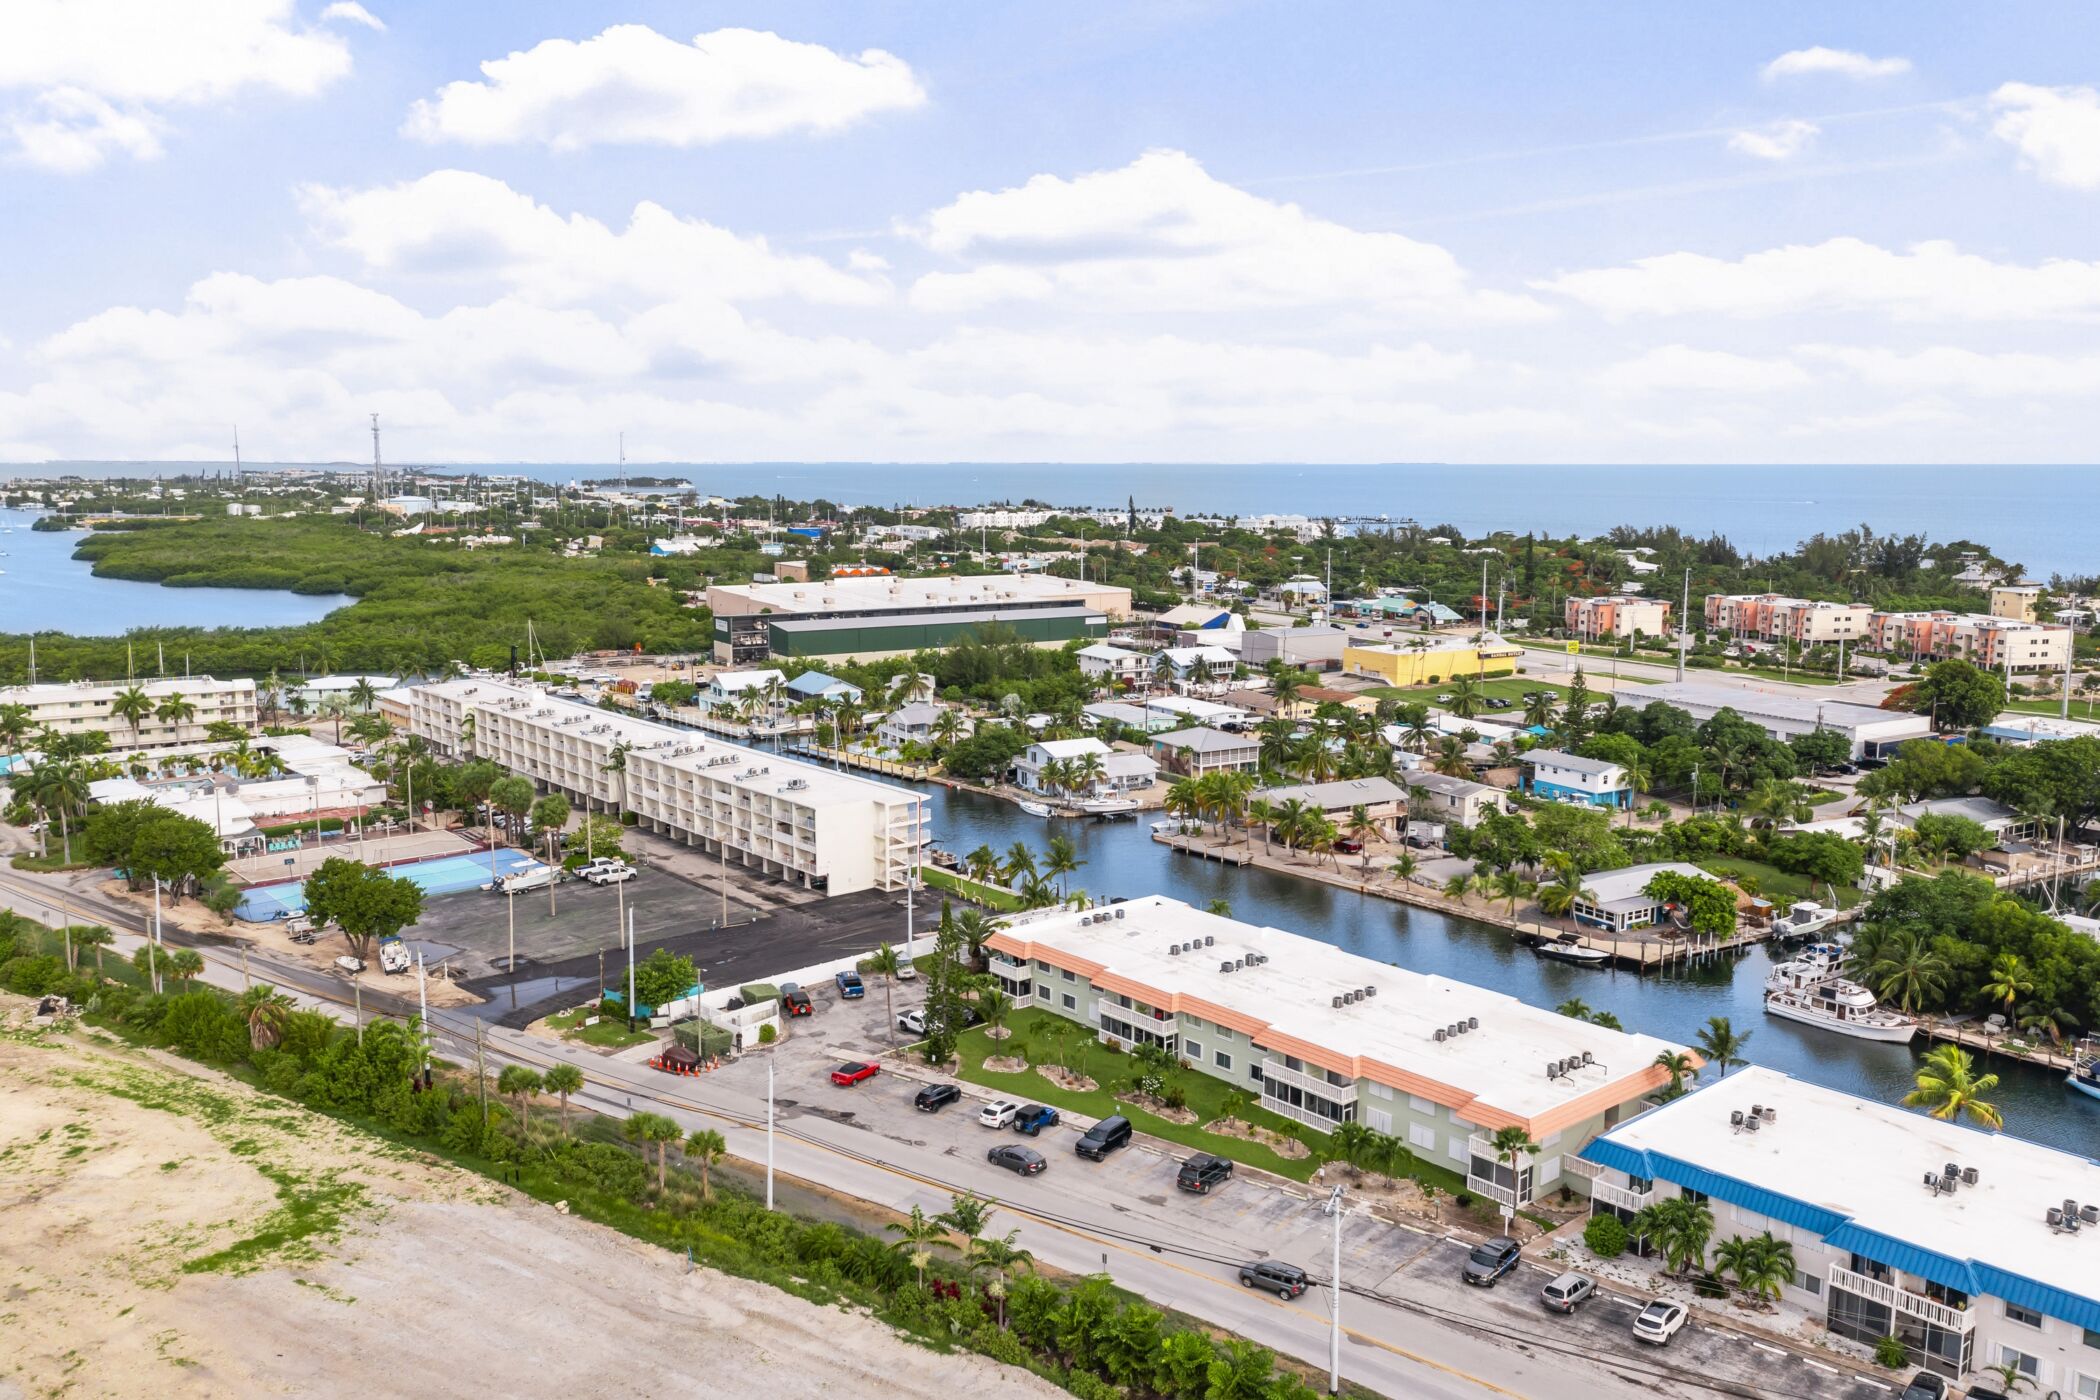
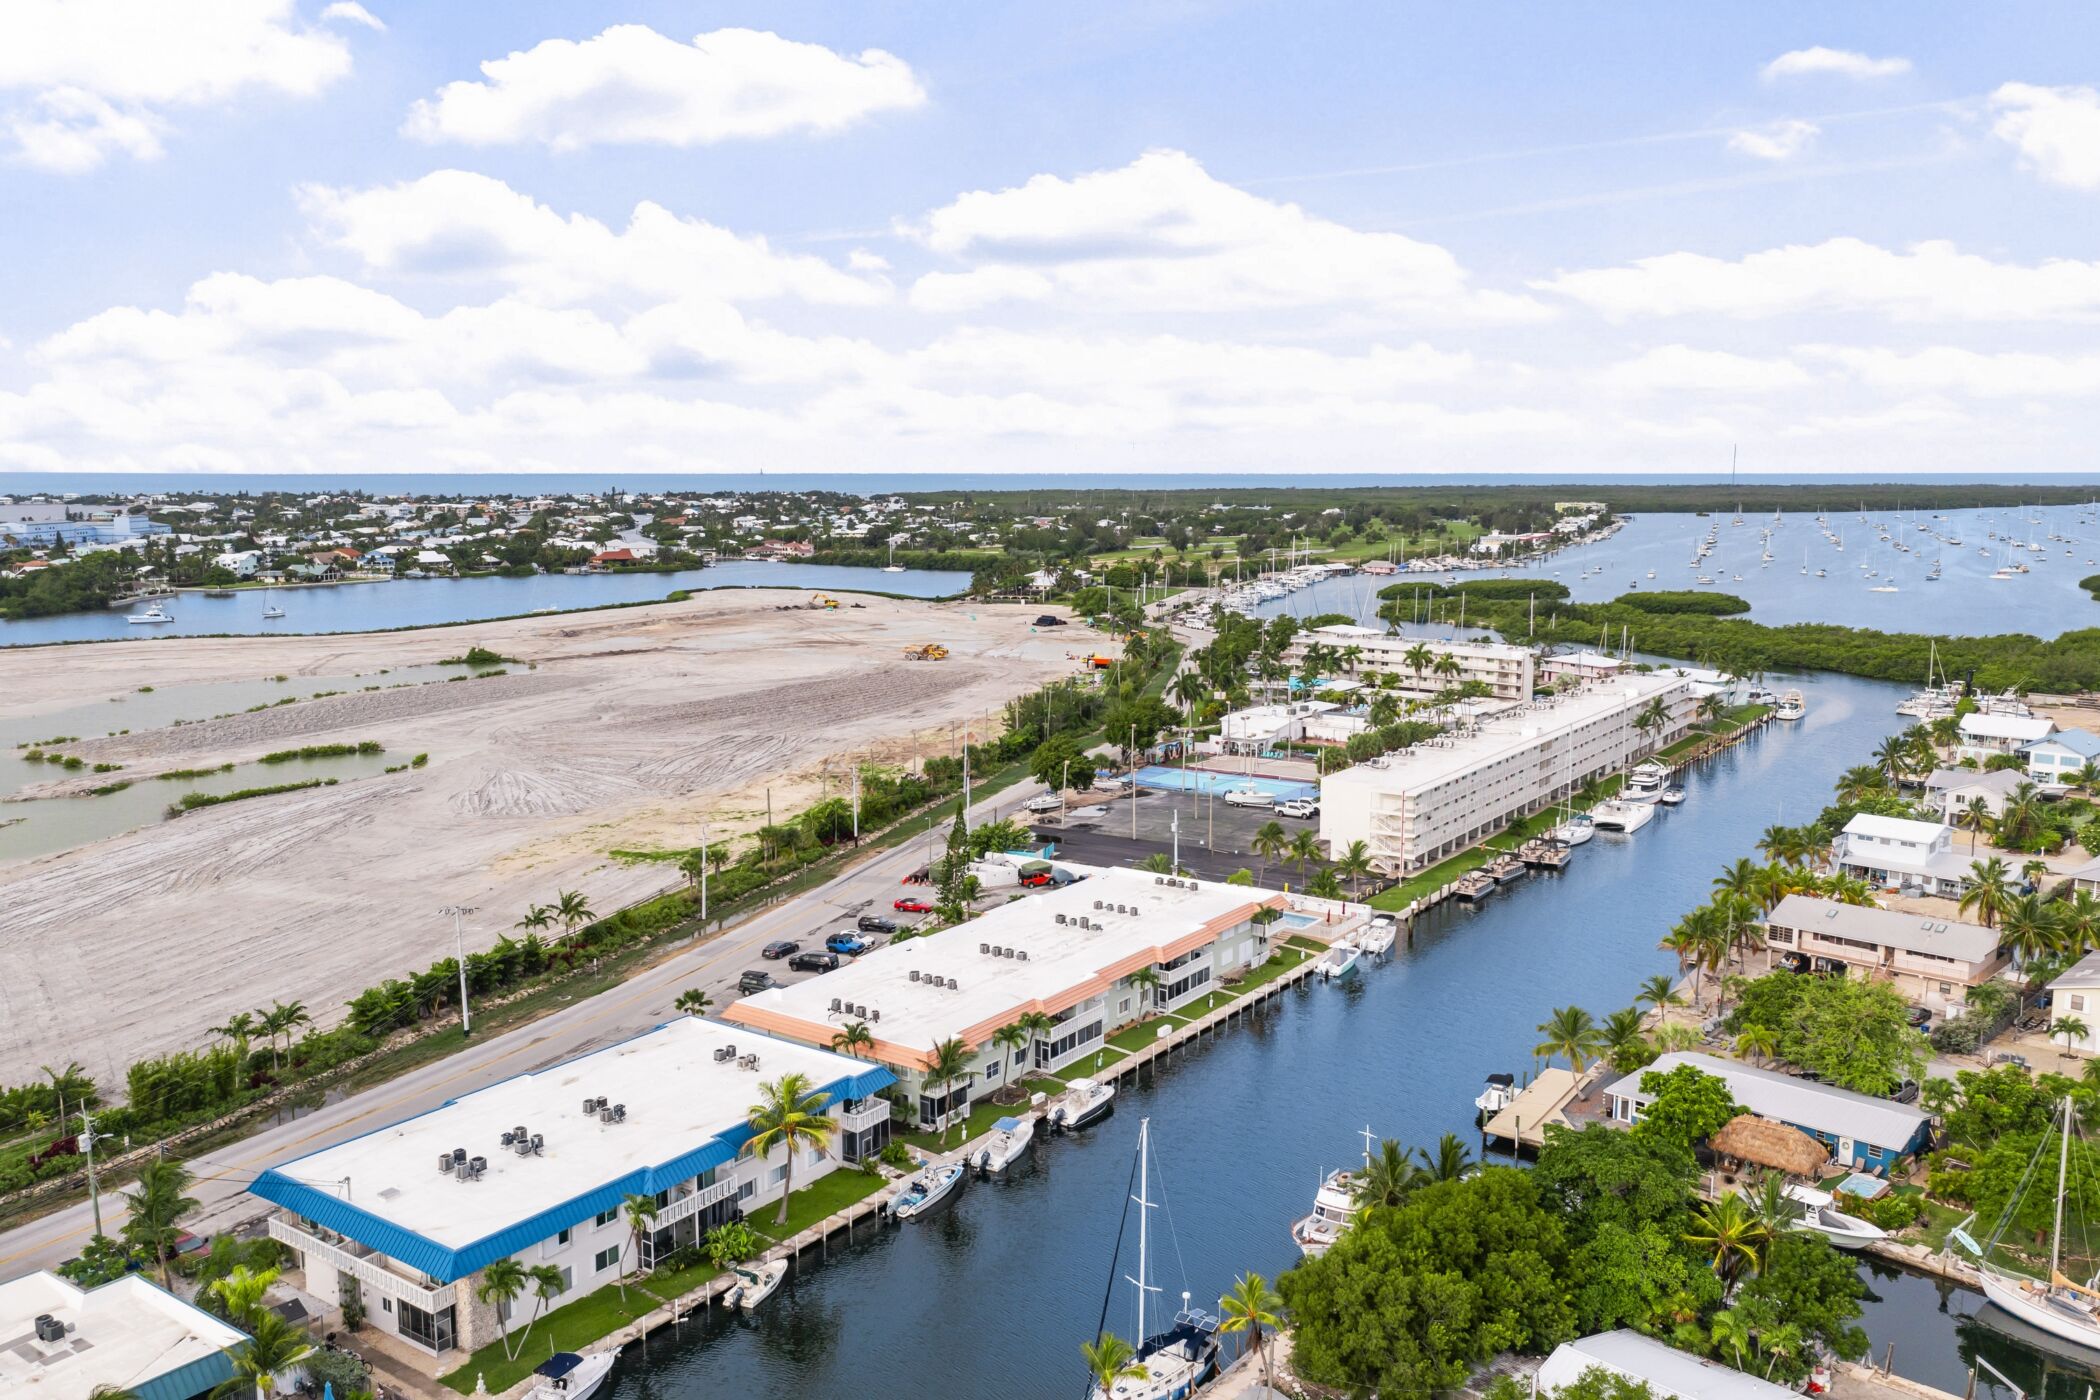
Aerial
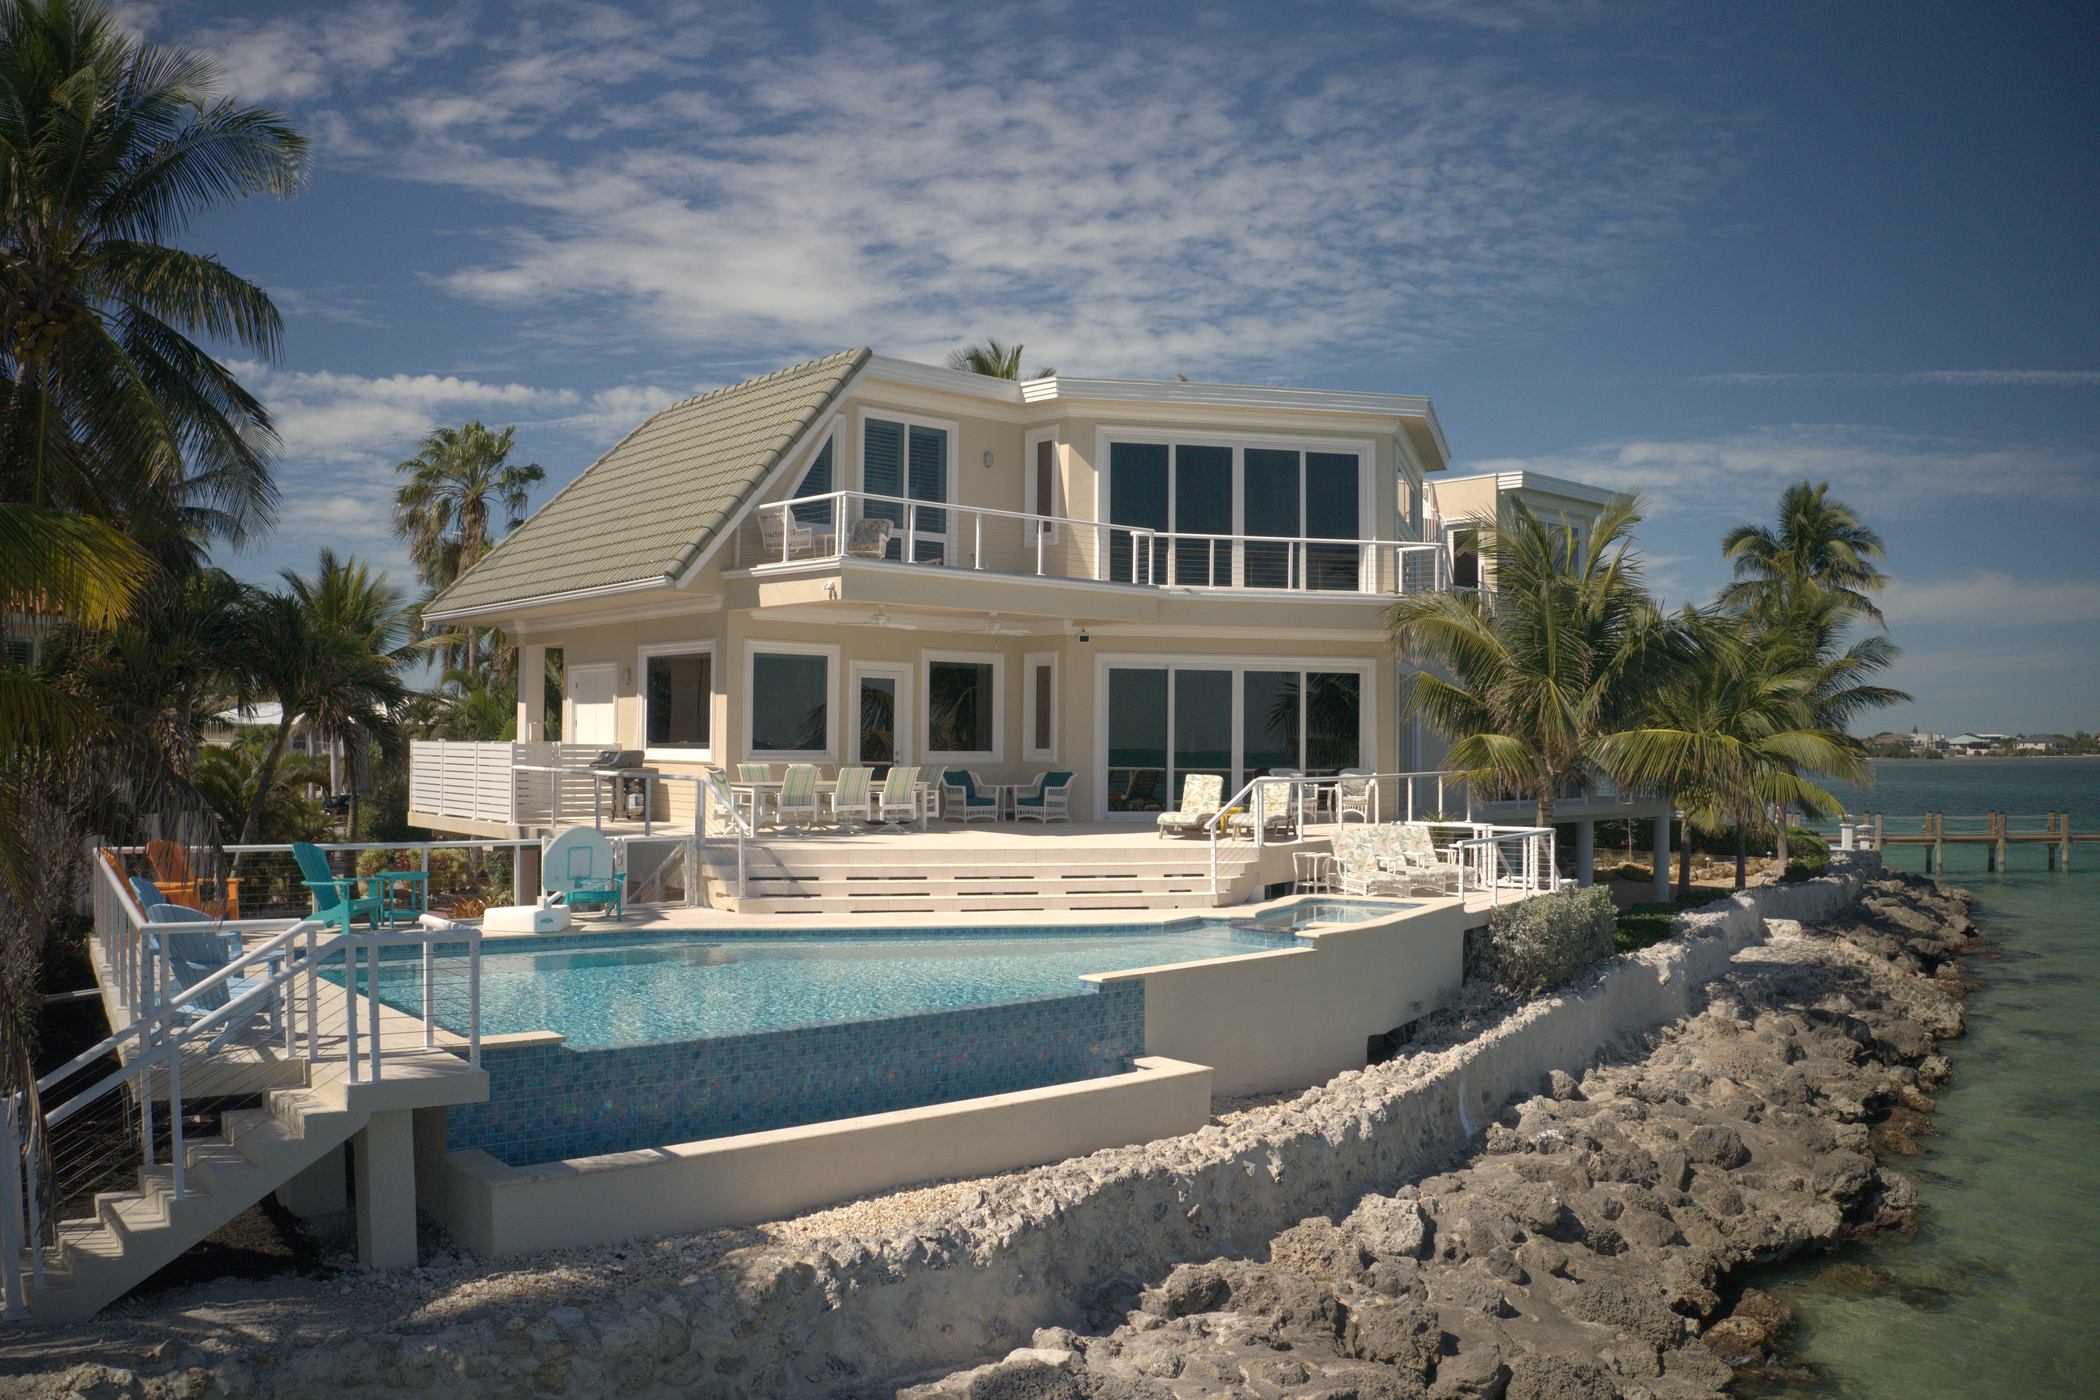
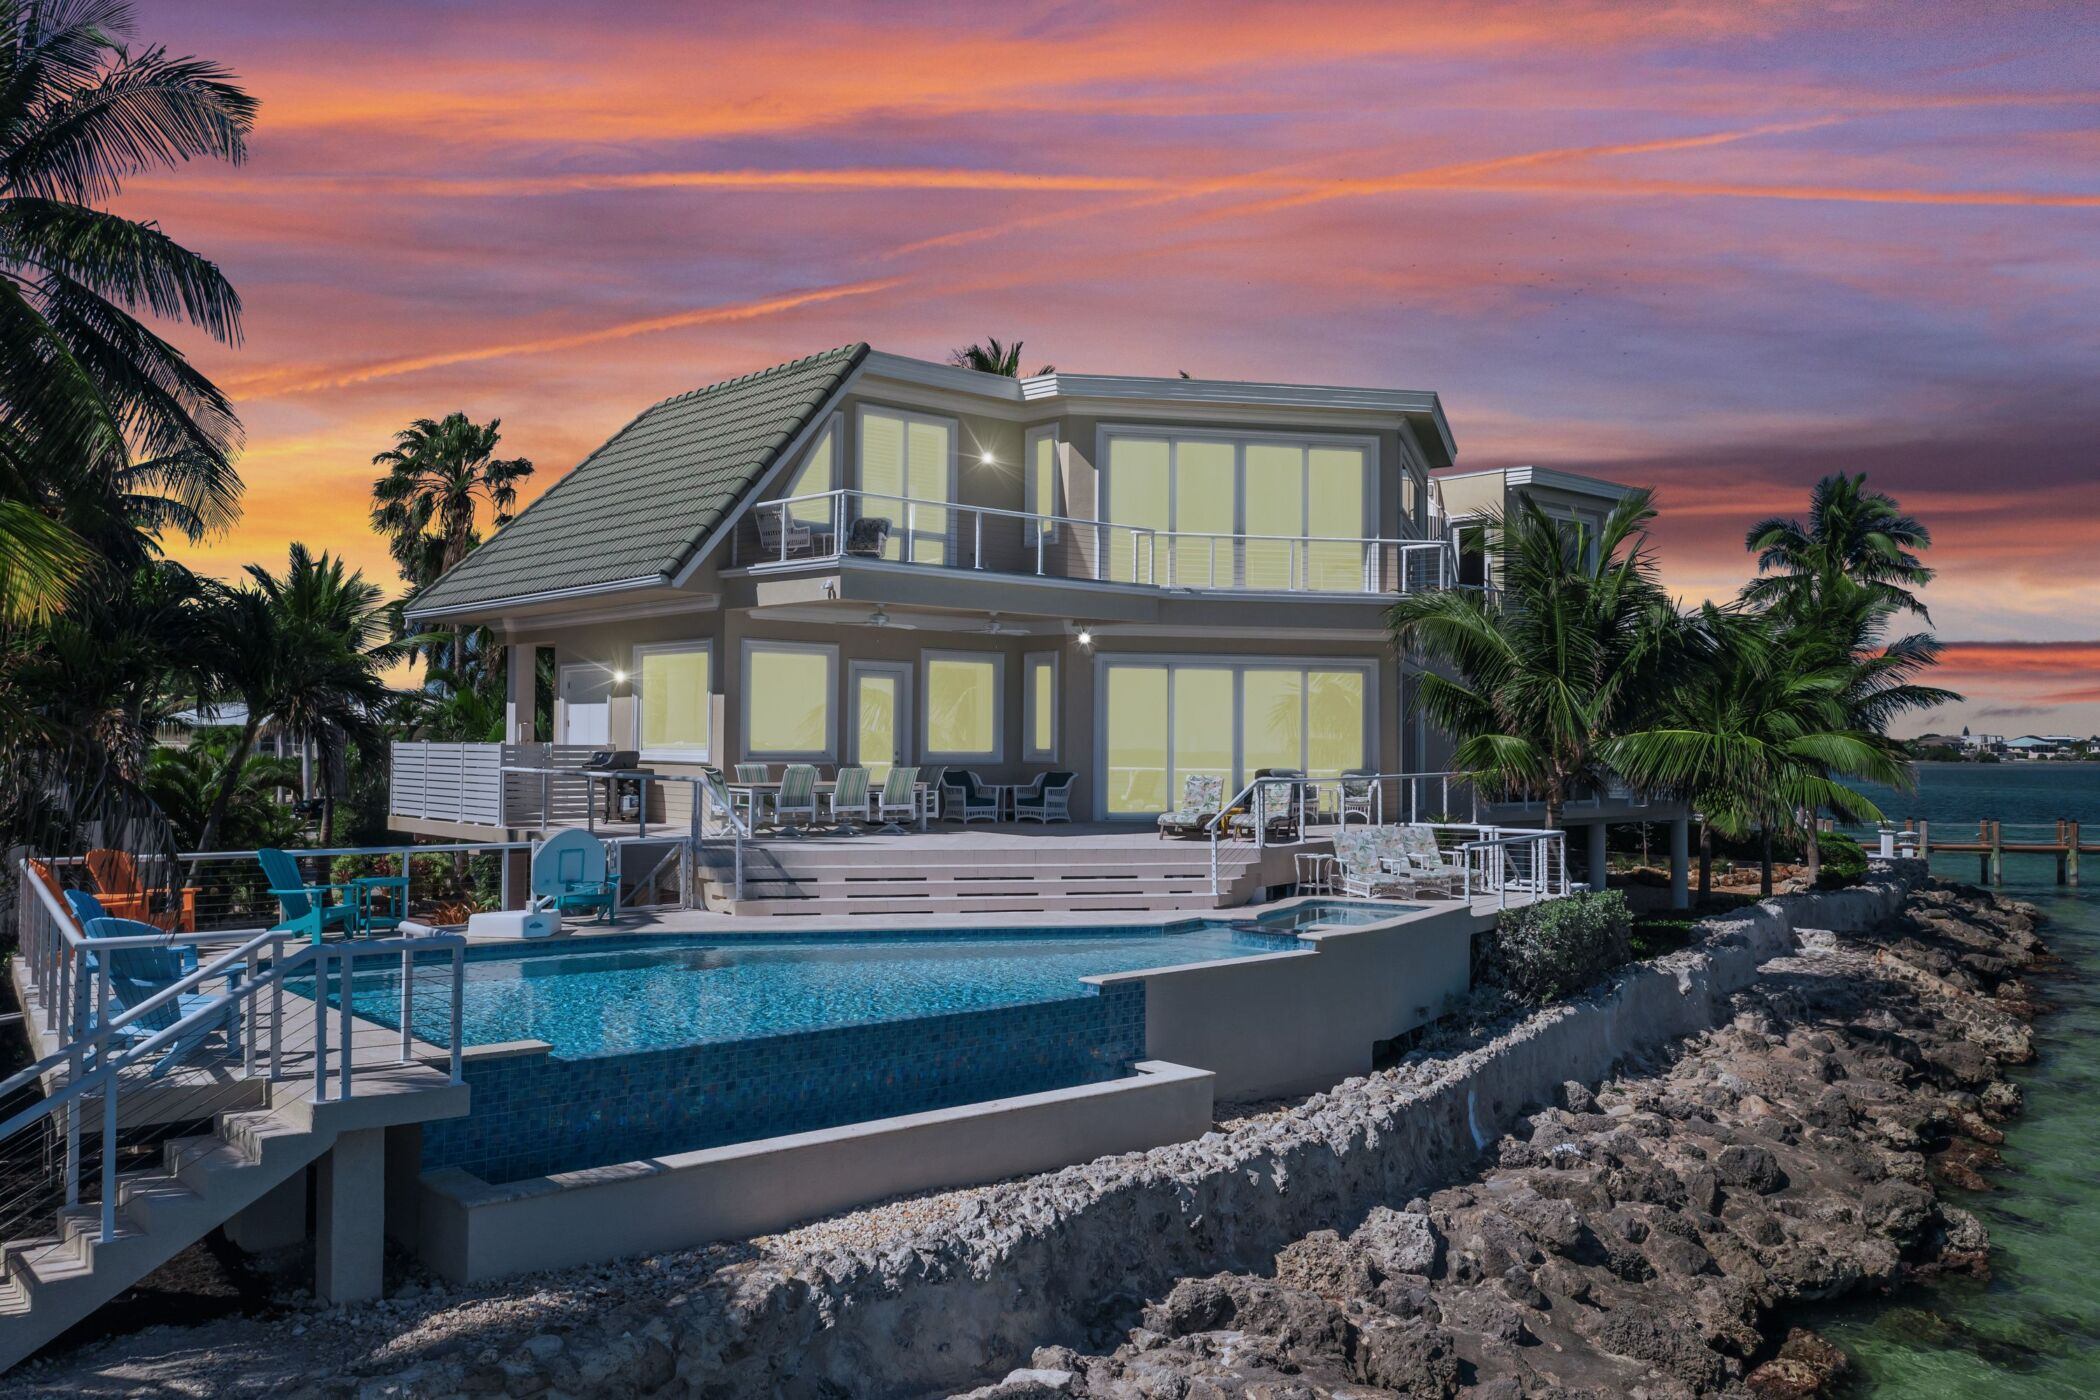
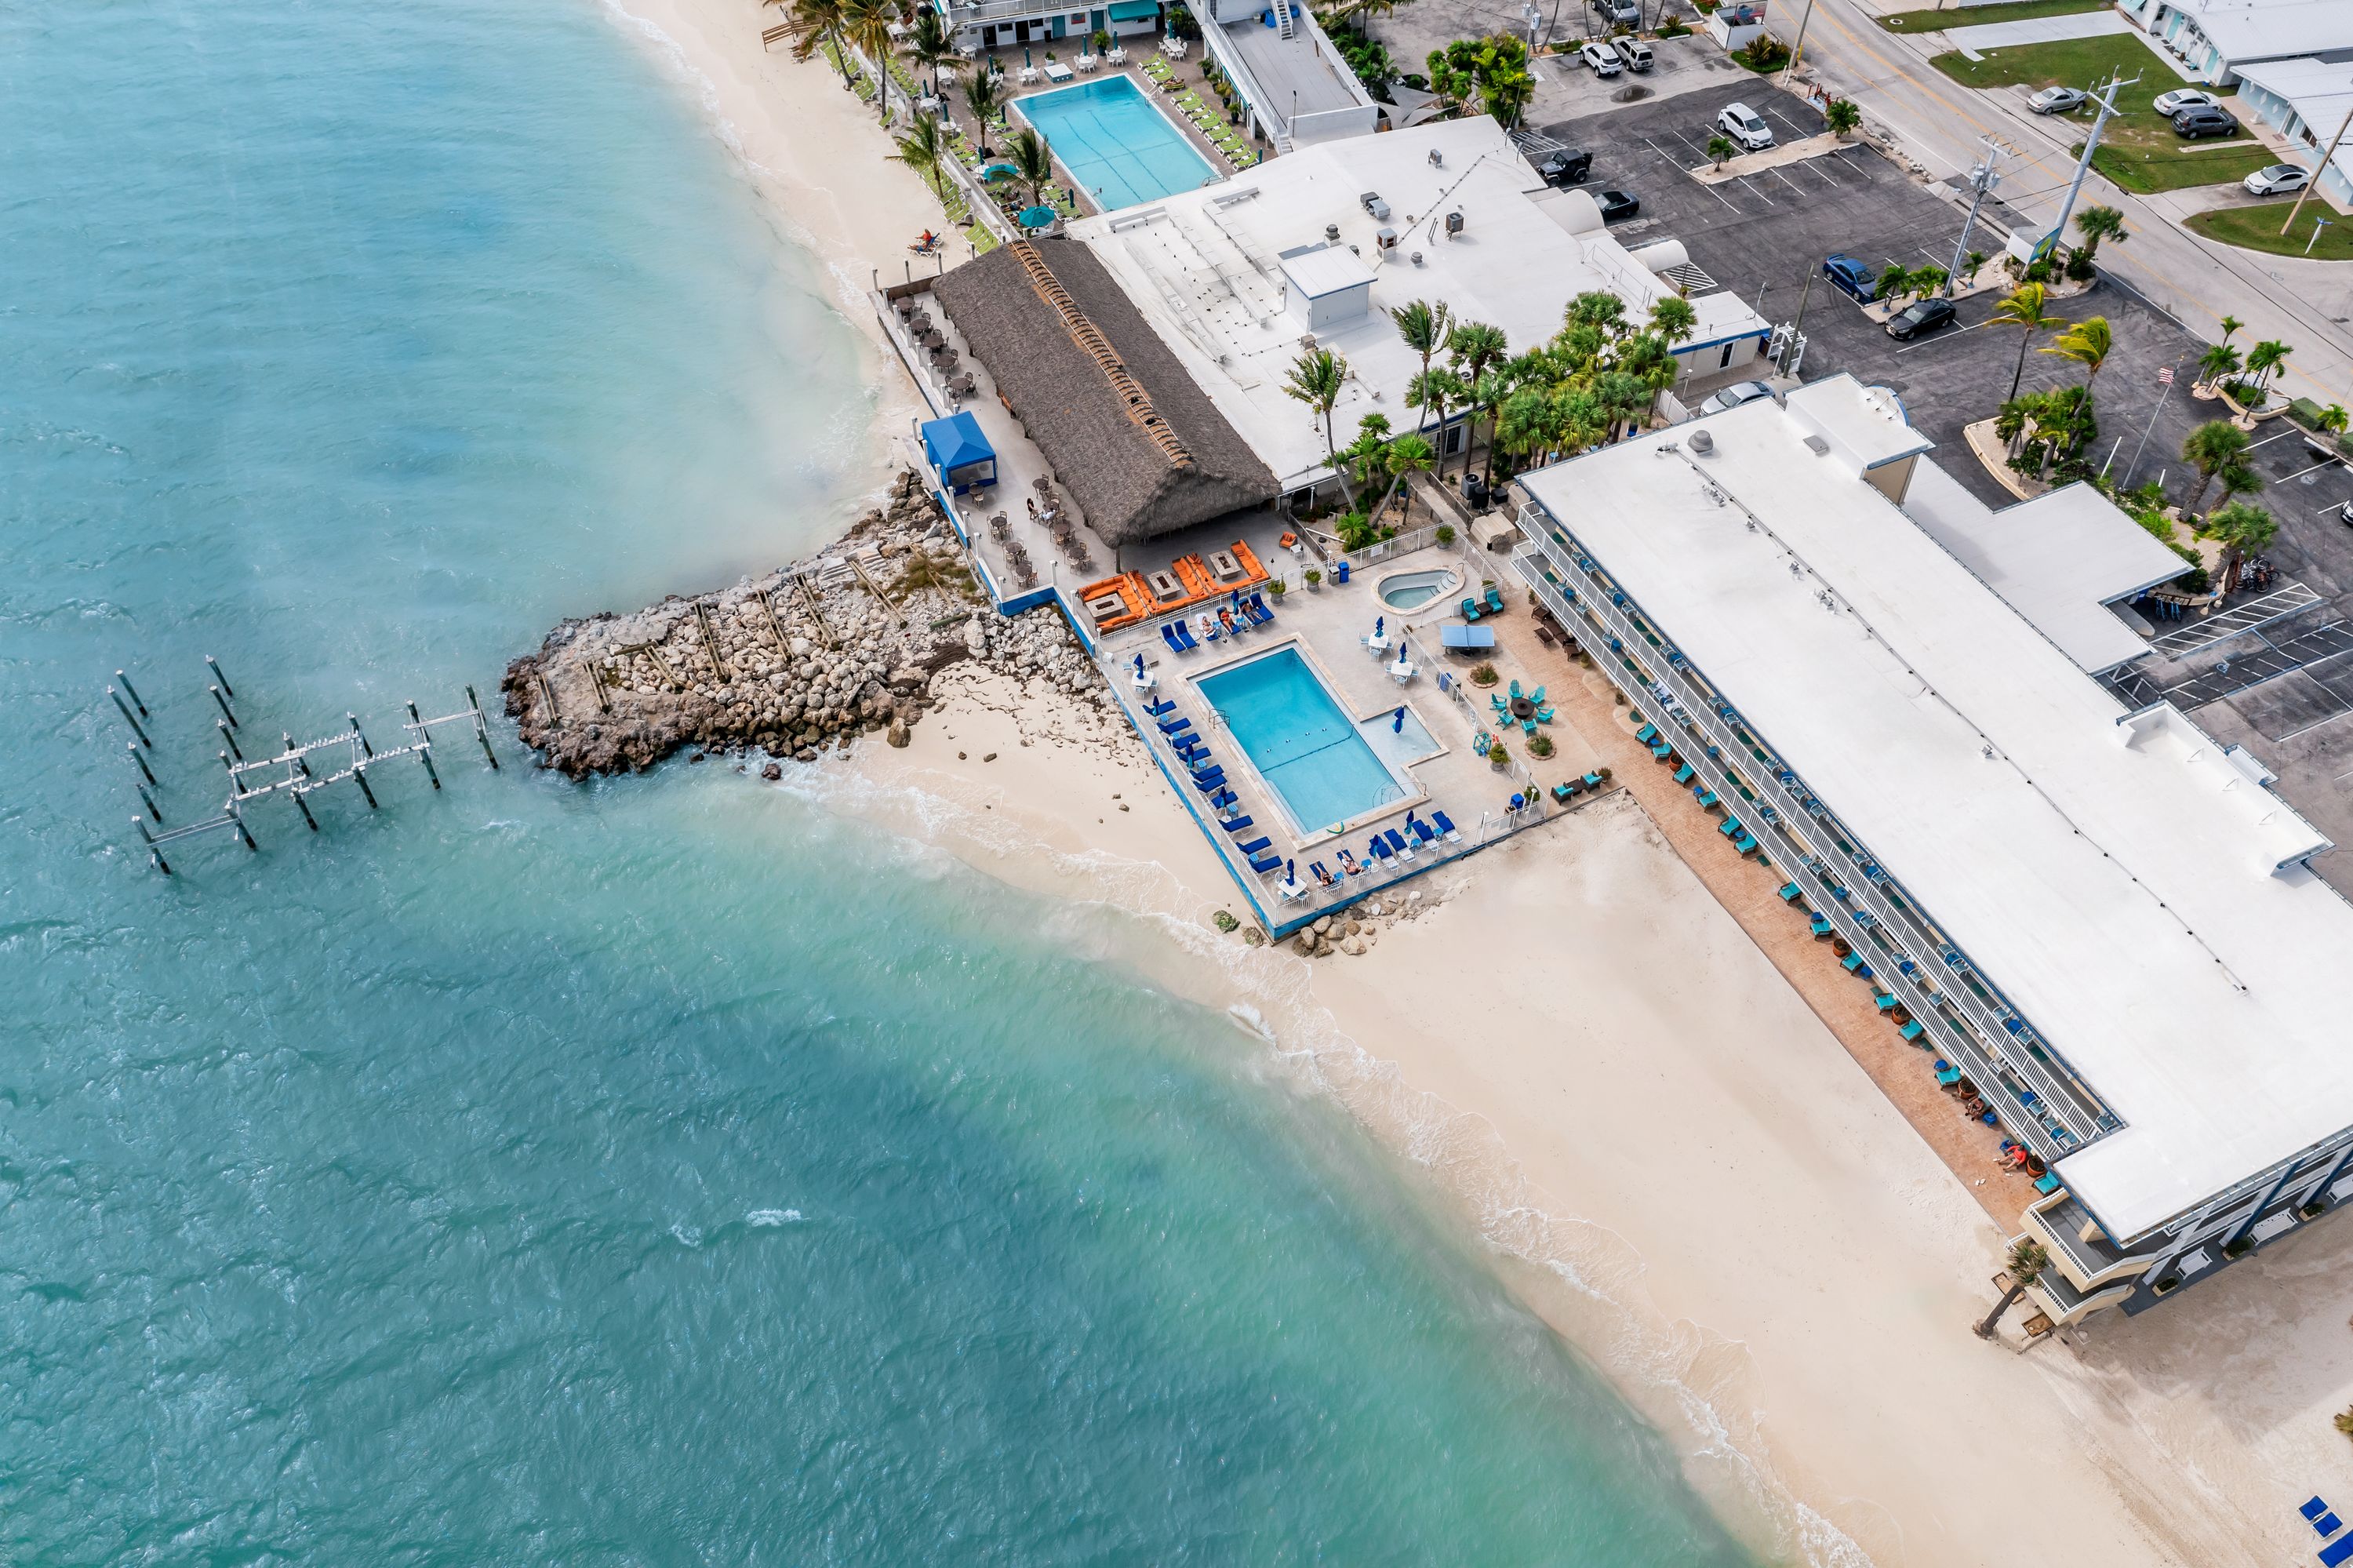
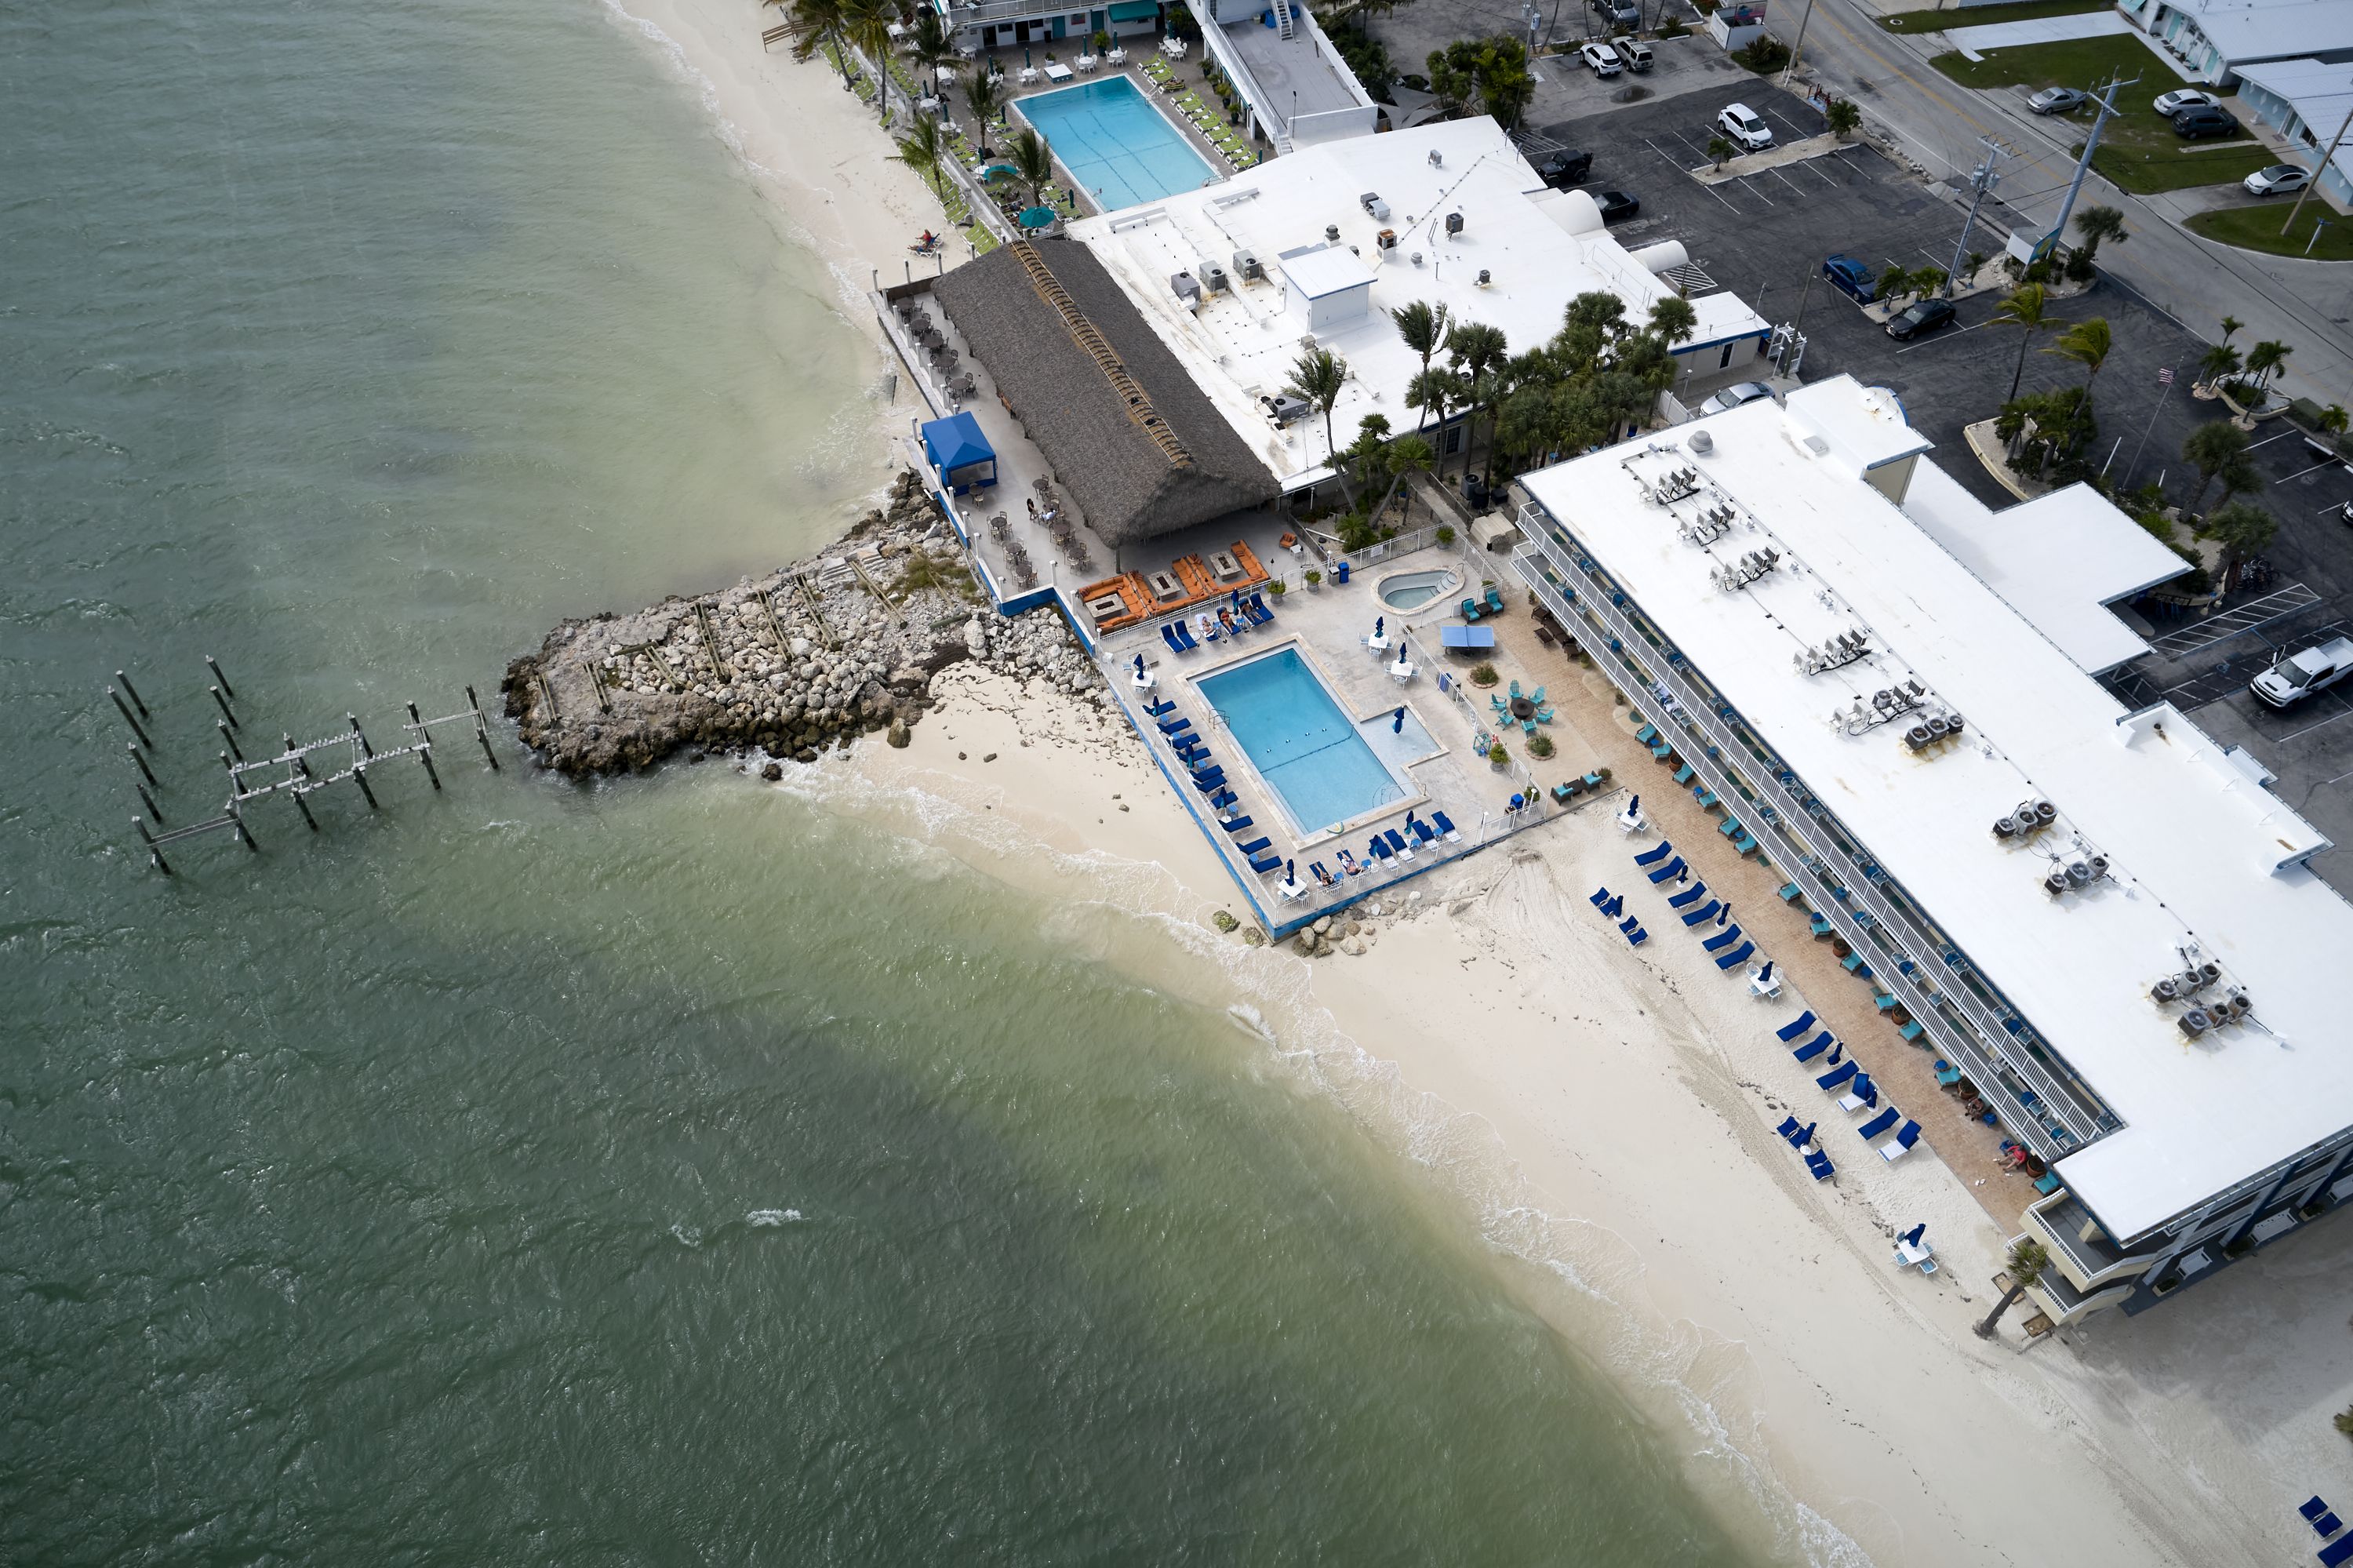
Retouching example, the goal is to remove distracting elements from the picture and provide a more polished look for the property. Among obvious things like roof, water color and beach cleanup, notice how the pool deck was, “power washed”. Top of the picture – gray deck was cleaned up as well. One vehicle was removed from the right edge of the parking lot.
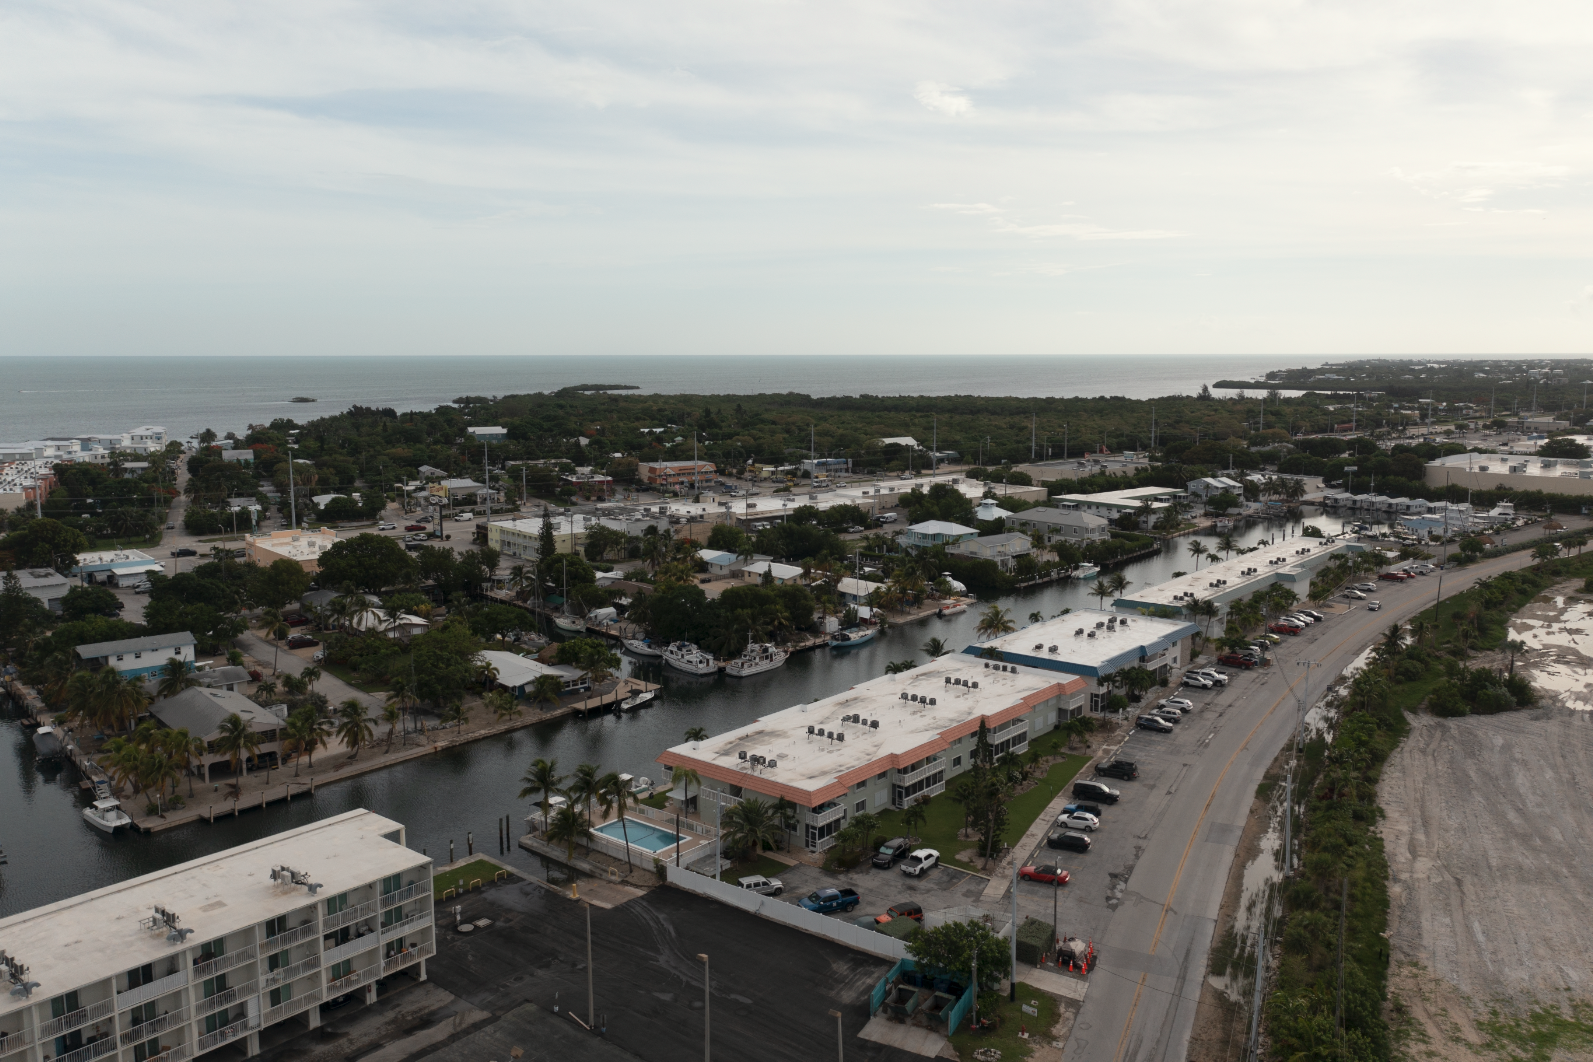


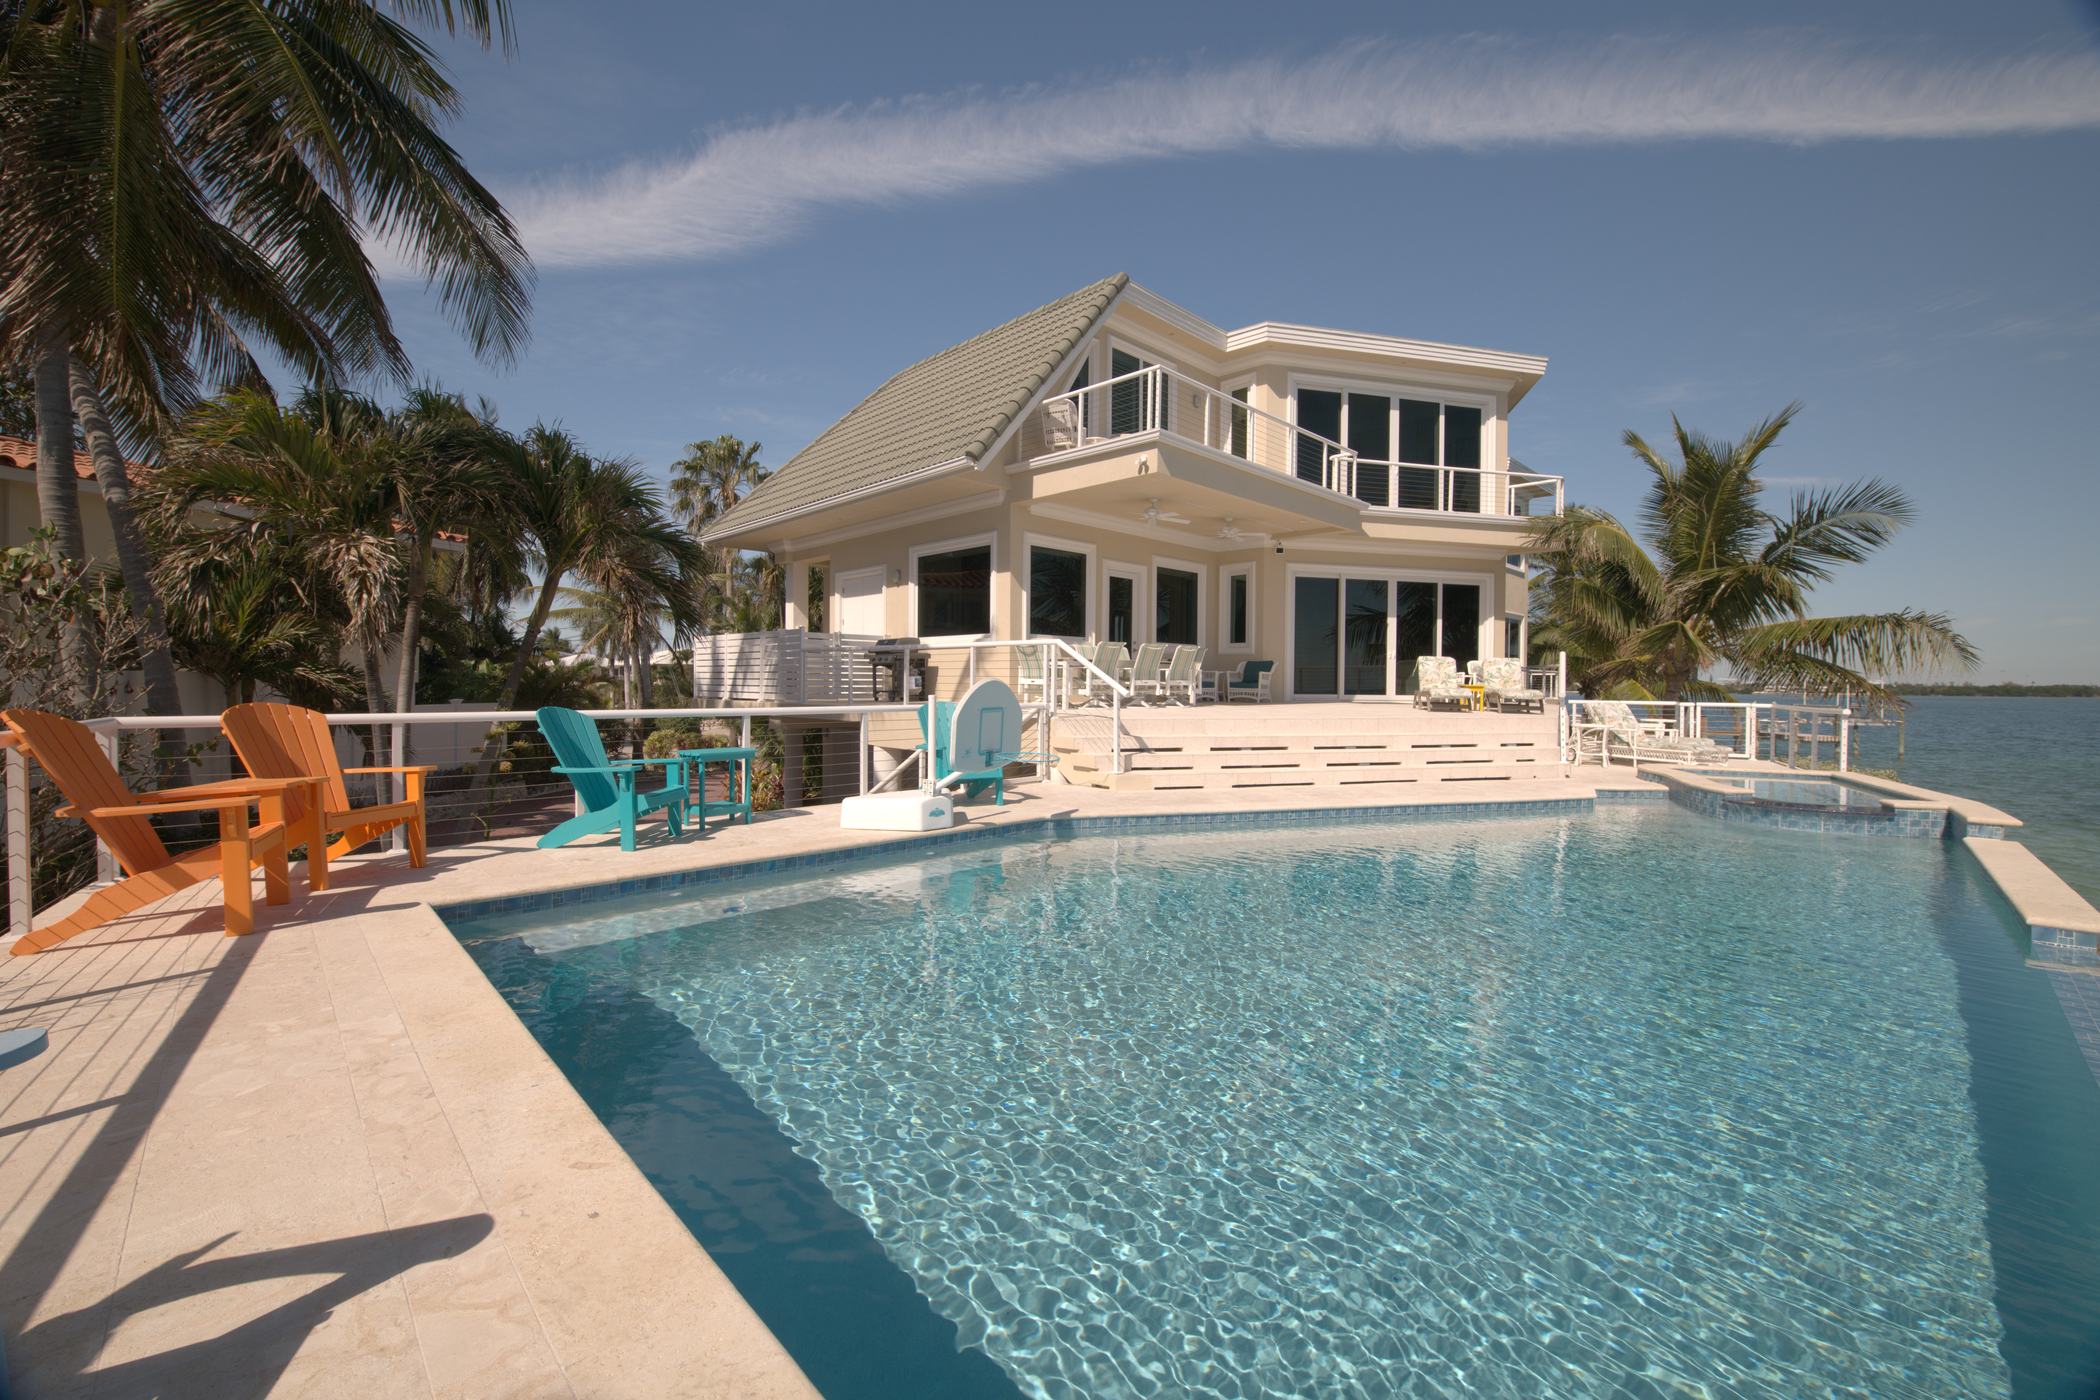
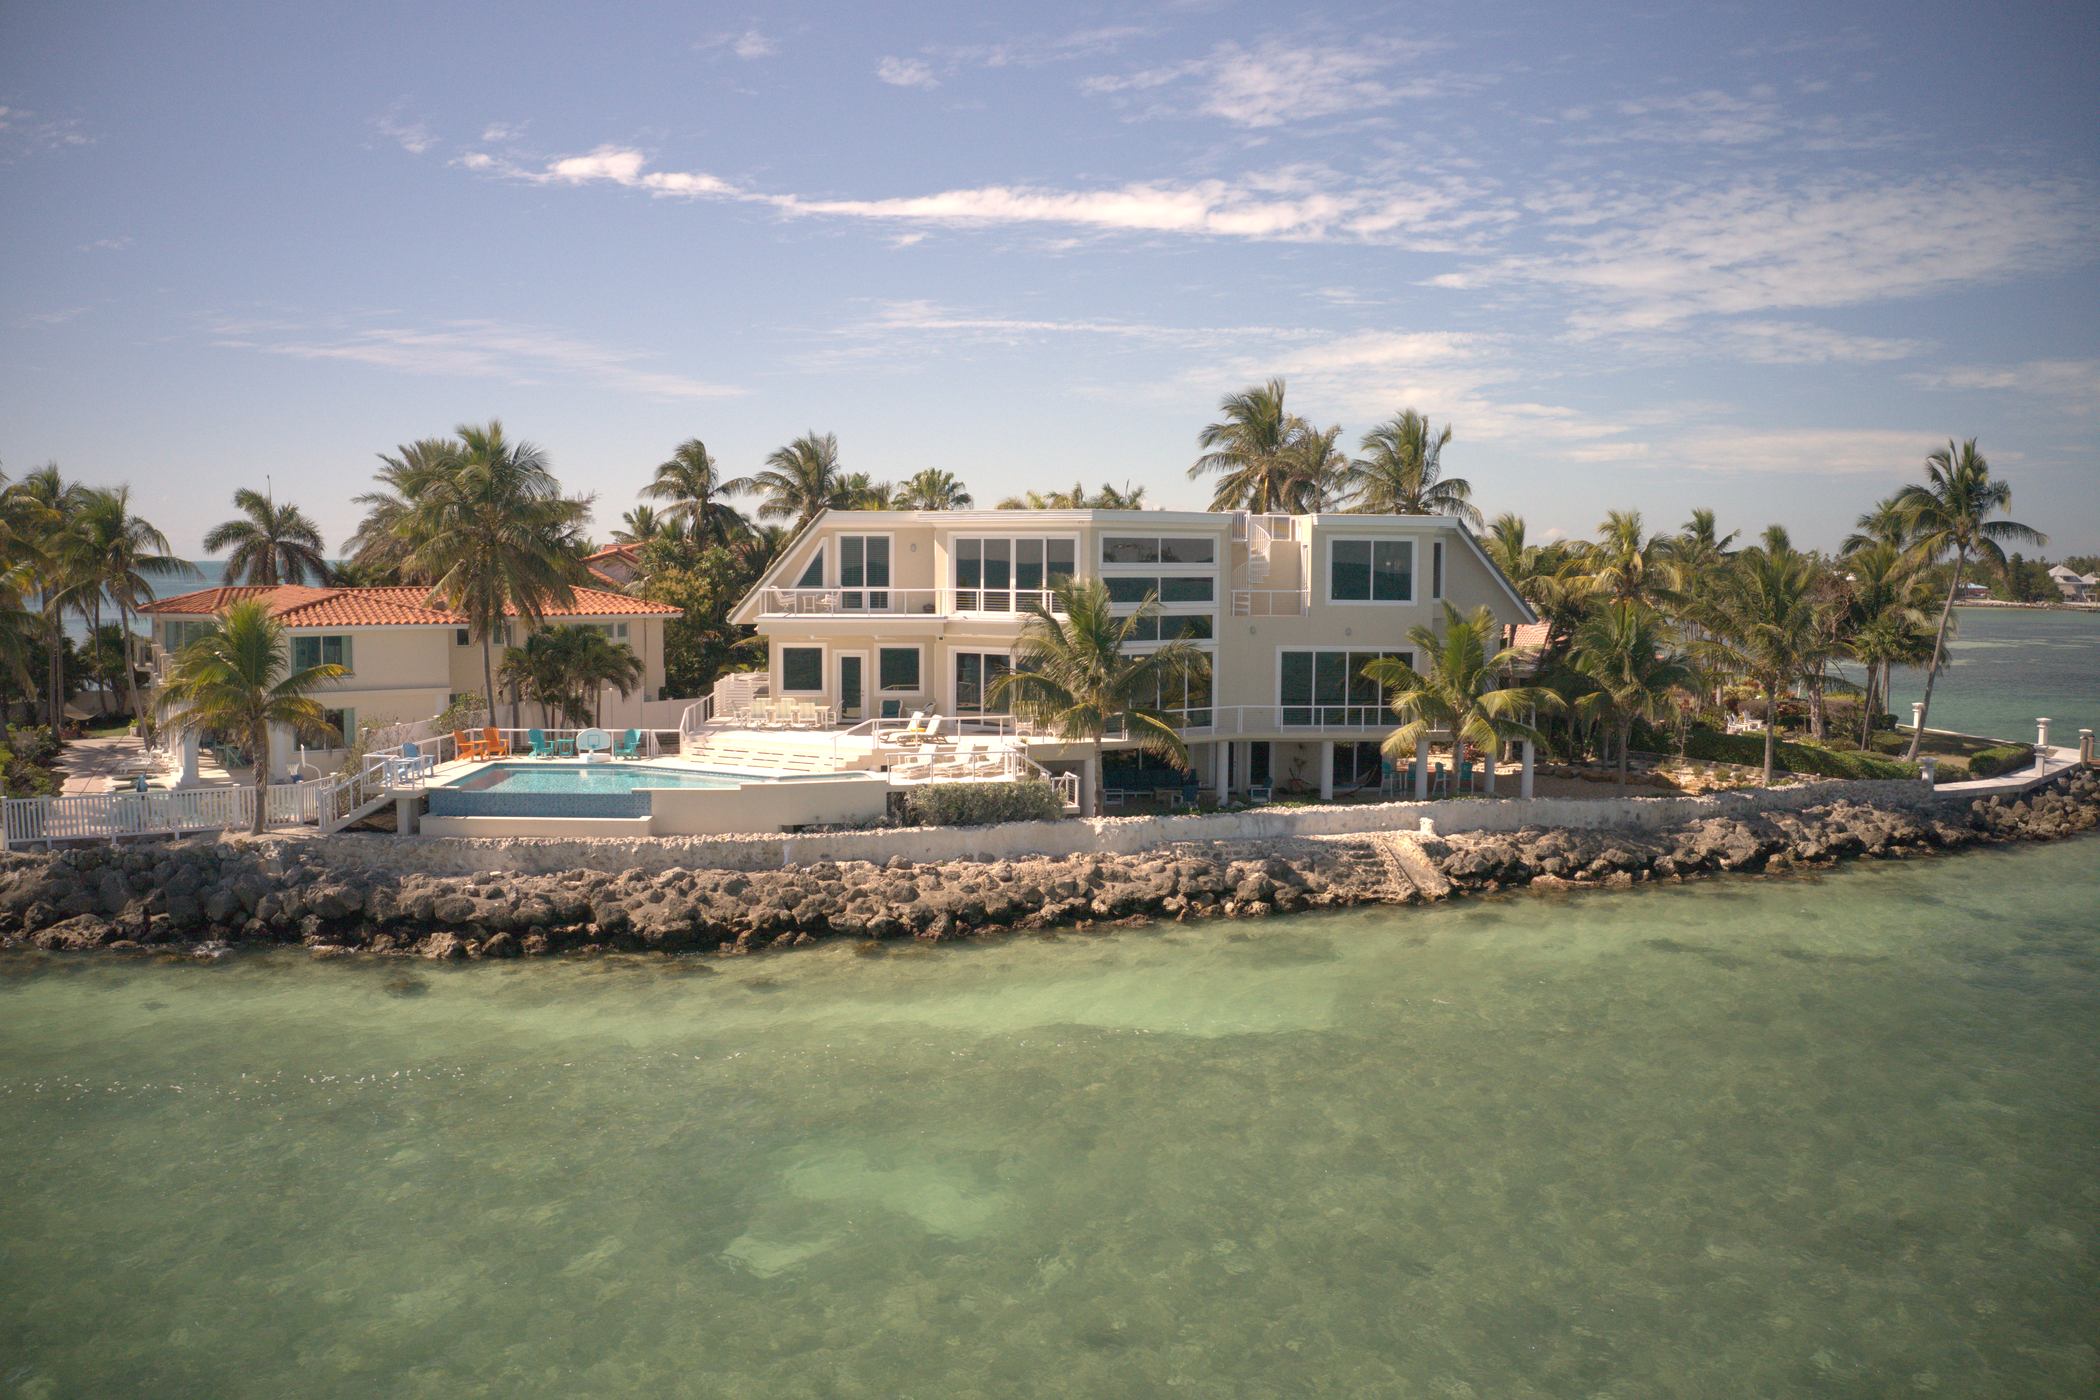
Exterior